*This post may contain affiliate links. Read more »
Medhu Vadai, also known as Ulundu Vadai, holds a prominent place in the culinary landscape of Southern India. Hailing from the regions of Tamil Nadu and Karnataka, this savory fritter has withstood the test of time, delighting generations with its crispy exterior and soft, fluffy center.


Enter your email & I'll send it to your inbox. Plus, get great new recipes from me every week!
By submitting this form, you consent to receive emails from Cinnamon Snail.
This traditional vada recipe is naturally gluten-free and vegan. Medhu Vadai showcases the ingenious use of urad dal, a protein-rich lentil variety revered for its nutritional value. Similar to falafel, the dough for making vada is made of blended soaked (not cooked) legume, making it more nutritious and naturally works as a binder without introducing gluten in the form of flour or breadcrumbs. The simple yet powerful combination of urad dal, and spices results in an unbelievably crisp exterior, and fluffy cloud-like interior.
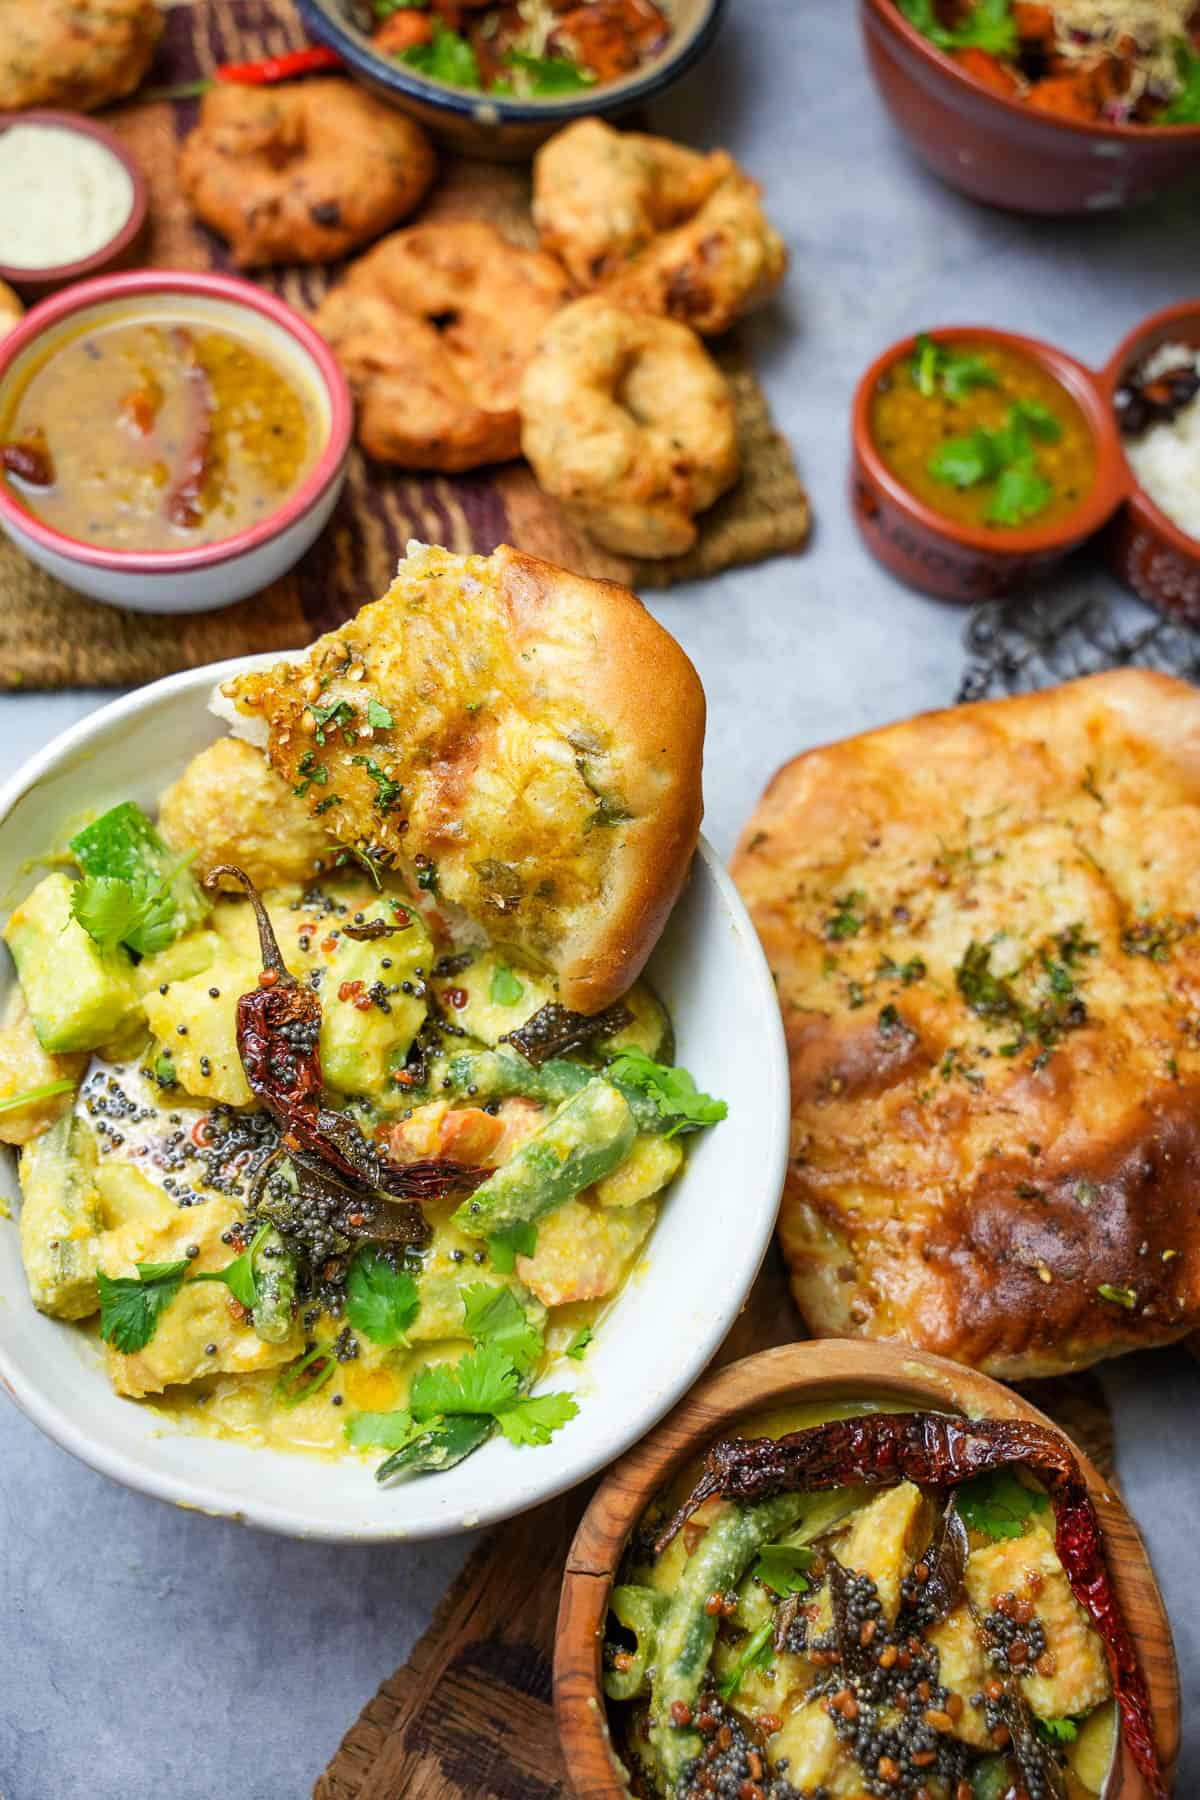
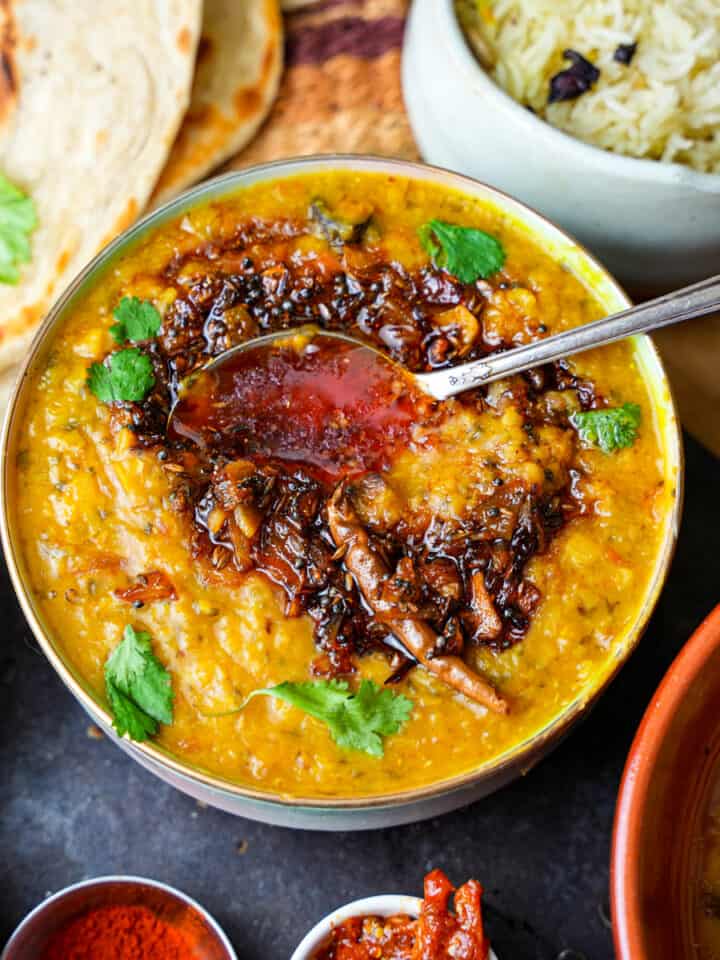
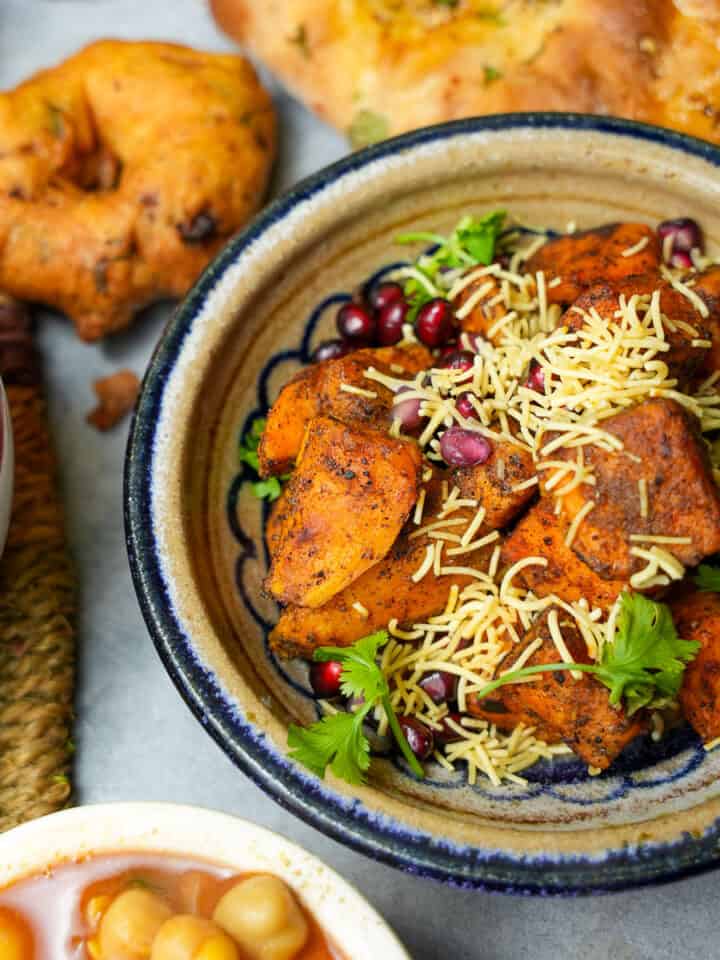
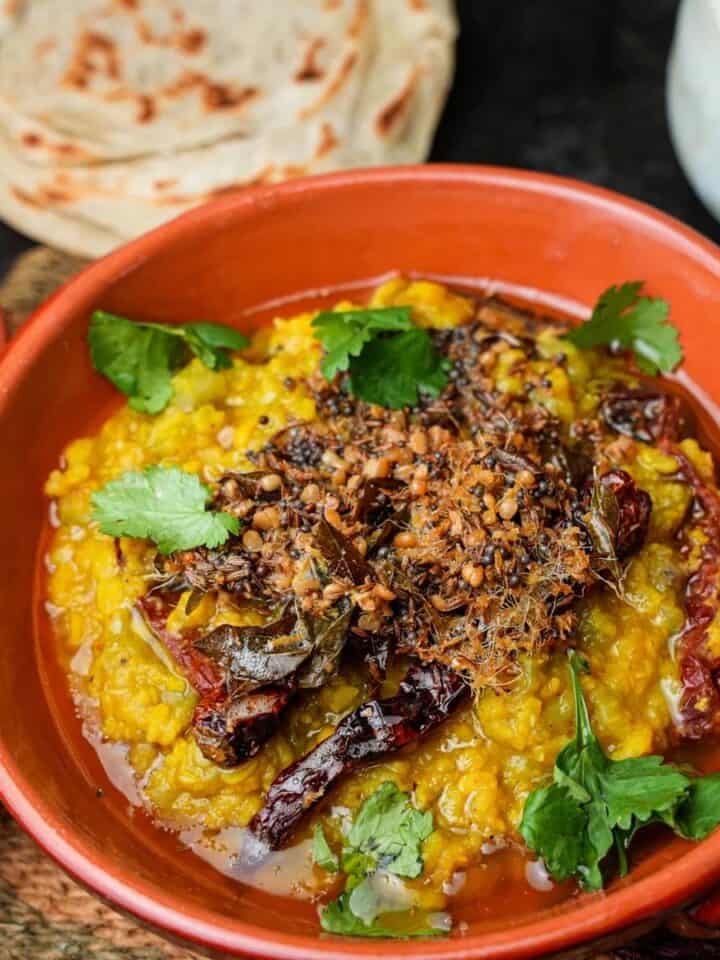
The sheer versatility of Medhu Vadai is remarkable, as it lends itself perfectly to various culinary contexts. Whether served as a snack, alongside other chaats like vegan aloo papri chaat, onion bhaji and masala phool makhana, or as an accompaniment to aromatic dals like chana dal, masoor dal, and arhar dal tadka, or as part of festive feasts, it's easy to see why this savory donut has become an irreplaceable presence in the South Indian food landscape.
Jump to:
🥰Why you are going to adore the ever-loving heck outta this recipe
- Irresistible Crispy Exterior and Soft, Fluffy Center: This Medhu Vadai (also sometimes called "medu vadai", "medu vada", "uzhunnu vada", or "uddina vada") recipe delivers the perfect balance of textures, ensuring a delightful sensory experience. Bite into the golden, crispy exterior to reveal a soft, pillowy center that practically melts in your mouth. The contrast between the two textures is simply irresistible.
- Wholesome and Nutritious: Made using urad dal, a protein-rich lentil, Medhu Vadai packs a nutritional punch. This legume is a fantastic source of dietary fiber, iron, and various essential minerals. By incorporating this gluten-free and vegan recipe into your diet, you can enjoy a guilt-free treat that nourishes your body as well.
- Versatile and Customizable: Urad dal vada is an incredibly versatile dish that can be enjoyed in numerous ways. Serve it as an appetizer, a snack, or even as a main course accompanied by delectable chutneys or sambar. Moreover, you can personalize the recipe by adding your favorite spices or herbs to suit your taste preferences, making it a truly customizable culinary adventure.
- I made this recipe on TV! I competed on a Food Network donut-making show (because donuts are a bit of an obsession of mine… when the surprise theme was Bollywood, one of the donuts I knew I should make was vada! The judges raved about my donuts and especially loved the classic South Indian Vadai. I made it to the final round of the competition. If you'd like to learn some great eggless donut-making skills from me, check out my online cooking class on cake donuts, or my recipe for vegan apple cider donuts.

Curry in a Hurry - Vegan Indian Recipe Club! 🍲💌
This 6-day program is 100% FREE. Let me help you to master plant-based Indian cooking!
🧅 What's in this medhu vada recipe

Urad Dal
Split urad dal forms the foundation of Medhu Vadai, imparting a rich and creamy texture, and bright white internal color to the fritters. You can substitute it with split and husked mung beans (moong dal) to achieve a similar consistency if unavailable. Though generally, yellow split moong dal fritters would be considered pakoda, or bhaji rather than vadai.
Curry Leaves (Kadi Patta)
Curry leaves are a quintessential ingredient in South Indian cooking, lending a distinct aroma and flavor to the Medhu Vadai batter. These glossy, dark green leaves are often found fresh, but dried or frozen curry leaves can also be used as a substitute, although the fresh ones are preferred for optimal taste. They are easy to keep alive as houseplants, and that's the best way to have fresh curry leaves on hand for general cooking.
Asafoetida (Hing)
Asafoetida, a pungent and resinous spice, adds a unique savory and umami flavor to Medhu Vadai. It is commonly used as a digestive aid and flavor, and as an alternative to garlic and onions in sattvic Indian cuisine (like how it is used in my sattvic biryani or my recipe for peerkangai kootu, an onion and garlic free ridge gourd curry). If you don't have asafoetida on hand, you can replace it with garlic powder or omit it entirely, although it does contribute to the authentic taste of the dish.
Mature Coconut Meat (optional)
Finely chopped mature coconut meat adds a subtle sweetness and a creamy, rich texture to Medhu Vadai. It's especially nice in vadai that you intend to serve as breakfast soaking in hot sambar, as I've so often enjoyed it in Mysore, a city in India's southwestern Karnataka state. It's probably my favorite South Indian breakfast, other than the unparalleled fruit that's available down south.
*See the recipe card at the bottom of the page for exact quantities, nutritional info, and detailed cooking directions.
📖How to make vadai
You wanna see how perfect Vadai gets made? I will walk you through the whole process. Or you can follow along with the easy-to-print recipe card towards the bottom of this page.

Step 1
Rinse the split white Urad Dal under cold water to remove any impurities. Transfer the rinsed dal to a bowl and cover it with four cups of water.

Step 2
Soak the dal for a minimum of two hours to a maximum of five hours).

Step 3
Once soaked and the dal has puffed up, drain the water thoroughly in a wire mesh strainer.

Step 4
In a blender or food processor, combine the soaked Urad Dal with ⅓ cup of cold water. Process the mixture until it reaches a smooth and thick paste-like consistency. It may be necessary to pause occasionally and scrape down the sides of the bowl to ensure a uniform texture. If you have one, a high-speed blender is great to use for this because it whips more air into the batter, making the final result fluffier.

Step 5
Combine the soaked Urad Dal with ⅓ cup of cold water in a blender or food processor. Process the mixture until it reaches a smooth and thick paste-like consistency. It may be necessary to pause occasionally and scrape down the sides of the bowl to ensure a uniform texture. A high-speed blender is great because it whips more air into the batter, making the final result fluffier.

Step 6
Prepare the frying process by heating oil in a deep fryer or deep pan over medium heat. Aim for an oil temperature between 350-360°F (175-180°C). If you heat oil to fry on the stovetop, use a pot, not a frying pan, as it will make less of a mess that way.

Step 7
When the oil is hot, moisten your hands with water to prevent the batter from sticking. Take a small portion of the vada batter (roughly ¼-⅓ cup) and shape it into a rounded donut shape, poking a hole in the center with the moistened tip of one of your fingers. Hold the vadai more in the palm of your hand rather than the fingers to avoid creating impressions on the soft bottom side.

Step 8
Gently slide the shaped vadai into the hot oil, ensuring not to overcrowd the pan. You will need to rinse your hands well between forming each vada, as batter residue will otherwise quickly make it harder to work. Fry the vadai in batches, allowing them to cook until they turn golden brown and crispy on both sides.

Step 9
Using a metal spider or slotted spoon, carefully remove the fried vadai from the oil and transfer them to a wire rack to drain excess oil. If necessary, lightly blot the vadai with a reusable absorbent cloth to remove any remaining oil.
Serve the vadai while they are still hot and crispy with coconut chutney, sambar, cilantro cutney, tamarind chutney, or your favorite sides and condiments.

Grab my easy-yo-use app that builds your whole week with real, chef-tested vegan dinners in 30 seconds, customized to your budget, time, and taste, with a shopping list sorted by aisle.

🍽️Serving Ideas
Medhu vadai pairs wonderfully with other chaats like shakarkandi chaat, made from sweet potatoes with sev and pomegranate seeds. Vada is also the perfect accompaniment to veggies like Punjabi-style okra, Kerala-style Aviyal, aloo saag, or gourd preps such as olan, lauki sabji, or parval sabji, a South Indian dish prepared with pointed gourd and potatoes.
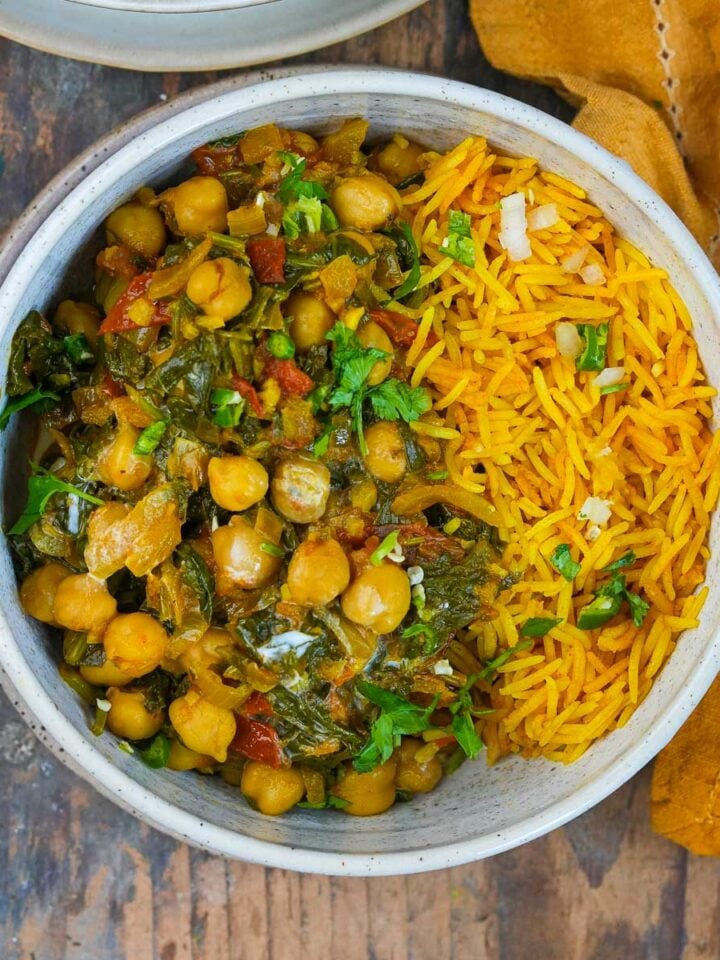
If you're looking to elevate your protein intake, the Ulundu vadai complements chana masala, phool makhana sabji, or black chickpeas served over aged basmati pulau, or aromatic coconut rice. Another great vegan protein to consider is this seitan-based Vegan Butter Chicken that will absolutely blow your mind!
Now, when you're putting together a feast complete with rice, dals, sabjis, and chaats, you'll definitely want the perfect breads to accompany them. Consider flaky Kerala Parotta, or fragrant Amritsari Kulcha which both serve as the ideal delivery system to transport curry directly from plate to face!
👉Top tip
- Temperature is Key: Maintain a consistent oil temperature of 350°- 360°F (175°-182°C) for frying. Too hot, and the vadai may burn on the outside before cooking through. Too cool, and they may absorb excess oil and turn greasy.
- Test the Oil: Before frying, drop a small portion of the batter into the oil. If it sizzles and rises to the surface steadily, the oil is ready for frying. If it sinks or sizzles too vigorously, adjust the temperature accordingly.
- Wet Hands for Shaping: I can't stress how important this is! Keep a small bowl of water nearby while shaping the vadai. Dip your fingers in water to prevent the batter from sticking to your hands. Wet hands also help achieve a smoother texture and shape.
🤷♀️FAQ
This is a mixed answer. Urad Dal, the main ingredient in Medhu Vadai, is a good source of plant-based protein. Urad Dal is also rich in dietary fiber, which aids in digestion and helps maintain a healthy digestive system. It contains essential minerals like iron, magnesium, and potassium, along with B-vitamins.
However, deep-fried foods can contribute to weight gain, as they are typically high in calories, and unhealthy fats, and can lead to an increased risk of developing chronic conditions such as heart disease, diabetes, and obesity. Additionally, the process of deep-frying can form harmful compounds, such as acrylamide, which has been linked to potential health risks when consumed in large quantities.
If you have concerns about diabetes, or heart conditions, one way to enjoy medhu vadai is by preparing them in an air fryer, which uses considerably less fat, and is a healthier option.
The hole in the center of a vadai serves both functional and culinary purposes. Functionally, the hole helps the vadai cook more evenly by allowing heat to penetrate the center, ensuring the interior is cooked thoroughly.
The hole helps create a distinct shape and texture, with a crispy exterior and a soft, fluffy center, making the vadai more enjoyable to eat. Having the hole also creates a higher ratio of crispy outside to fluffy inside.
While Medhu Vadai is best enjoyed fresh and piping hot on the day they are made, you may find yourself with leftovers that you want to save for later. Here are some storage and reheating guidelines to help you make the most of your Ulundu Vadai:
Storage: Allow the fried vada to cool completely before storing them. Place them in an airtight container or ziplock bag. Store in the refrigerator for up two days.
Reheating: To reheat the Medhu Vadai, you can follow these steps: Oven Method: Preheat your oven to 350°F (175°C). Place the Medhu Vadai on a baking sheet and warm them in the oven for about seven minutes until heated through. Keep a close eye on them to prevent over-browning.
Pan Method: Heat a pan on medium-low heat and lightly grease it. Place the Medhu Vadai in the pan and gently warm them, turning occasionally, until they are heated evenly.
Note: Keep in mind that reheated vada may not retain the same level of crispness as when freshly made. They may become slightly softer upon reheating.
Absolutely! Vada is typically made from a dough of lentils or legumes like urad dal (split black gram) or chana dal (split chickpeas), which are naturally gluten-free.
However, some vada recipes may include rava, wheat flour or other gluten-containing ingredients as a binding agent, which would make them terrible for someone who has a gluten sensitivity!
✌️my favey dishes to serve with vadai:

Learn to make your fave pure veg. Punjabi classics in a super-fun recorded cooking class with Chef Adam Sobel!


Medhu vadai (Vegan and gluten-free Ulundu Vada)
Ingredients
- 1 cup split urad dal
- ⅓ cup cold water
- ¼ teaspoon salt
- ½ teaspoon ground black pepper
- ⅓ cup diced red onion
- ¼ cup chopped cilantro leaves
- 1 teaspoon minced green chili
- ½ teaspoon grated ginger
- 14 curry leaves chopped
- ½ teaspoon asafetida hing
- ⅓ cup chopped mature coconut meat optional
- Canola oil sunflower oil, or vegetable oil for frying
Instructions
- Rinse the split white Urad Dal under cold water. Place the rinsed dal into a bowl and cover it with four cups of water. Soak the dal for a minimum of two hours to a maximum of five hours. Drain the water before proceeding.
- In a blender or food processor, grind the soaked Urad Dal and ⅓ cup of cold water into a smooth paste. You will likely need to stop blending intermittently to scrape the insides of the bowl down to ensure there are no whole pieces of dal left. The batter should be thick, sticky, and smooth.
- Transfer the Urad Dal batter to a mixing bowl. Add salt, black pepper, diced red onion, chopped cilantro leaves, minced green chili, grated ginger, chopped curry leaves, asafetida, and chopped mature coconut meat (if using). Mix well to incorporate all the ingredients.
- Heat oil in a deep fryer or deep pan on medium heat to a temperature between 350-360. Wet your hands with water to prevent sticking and take a small portion of the batter and shape it into a rounded donut shape with a hole in the center. Try to hold the vadai more in the palm of your hand than in the area of your hand with your fingers, so that your fingers do not create impressions in the soft bottom side of the batter.
- Carefully slide the shaped vadai into the hot oil. Fry them in batches, ensuring not to overcrowd the pan. Fry until they turn golden brown and crispy on both sides. It should take about four minutes to cook.
- Using a metal spider or slotted spoon, remove the fried vadai from the oil and place them on a wire rack to drain excess oil.
- Serve the vadai hot and crispy as a standalone snack or with chutneys and sambar for a complete meal.
Notes
Batter too loose?
You can mix a small amount of rice flour into the batter to stiffen it a little if it's too loose to neatly form the vada. Another way to make it easier to form vadai: Simply chill the mixed vada batter for at least 90 minutes to make it a bit firmer. It will be a whole lot easier to neatly form if the batter is cold.Tips for making Vadai in an Airfryer:
- Preheat the air fryer to 360°F (190°C) for a few minutes.
- Follow steps 1 to 3 from the instructions above to prepare the vadai batter.
- Lightly grease the air fryer basket or tray to prevent sticking. Place the shaped vadai on the greased surface, leaving some space between each vadai.
- Cook the vadai in the preheated air fryer for about 10-12 minutes, flipping them halfway through. Adjust the cooking time as needed to achieve the desired level of crispness.
- Once cooked, remove the vadai from the air fryer and allow them to cool slightly before serving.
Enter your email & I'll send it to your inbox. Plus, get great new recipes from me every week!
By submitting this form, you consent to receive emails from Cinnamon Snail.


Leave a Reply