*This post may contain affiliate links. Read more »
So you love homemade kimchi but don't want to babysit a fermenting jar for weeks? Kkakdugi is your no-fuss, no-wait vegan radish kimchi fix. Just toss crisp radish cubes in a fiery, garlicky, umami-packed paste, let nature do its thing, and boom-homemade kimchi, ready in days, not weeks. Low effort, high reward, and 100% guaranteed to make your fridge a better place.


Enter your email & I'll send it to your inbox. Plus, get great new recipes from me every week!
By submitting this form, you consent to receive emails from Cinnamon Snail.
Kkakdugi (깍두기), aka cubed radish kimchi, has been a Korean staple for centuries. Legend has it that Princess Sukseon whipped this up during King Jeongjo's reign in the 18th century-because apparently, royalty knew their way around a good ferment. The name comes from kkakduk sseolgi, referring to the cubed cut of the radish. But history aside, what makes this shine is balance-spicy, tangy, garlicky, with just the right hint of sweetness. Unlike cabbage kimchi, it stays crunchy long after fermentation, soaking up all that umami goodness without going mushy. Bonus: it's loaded with probiotics, so your glorious gut will love you for this.
This is the kind of recipe that does the work for you. No endless massaging, no complicated techniques-just chop, mix, and let time do its thing. A couple of days later, you've got a jar of crunchy, chili-spiked, flavor-loaded goodness ready to upgrade everything from rice bowls, noodles, and late-night fridge raids.
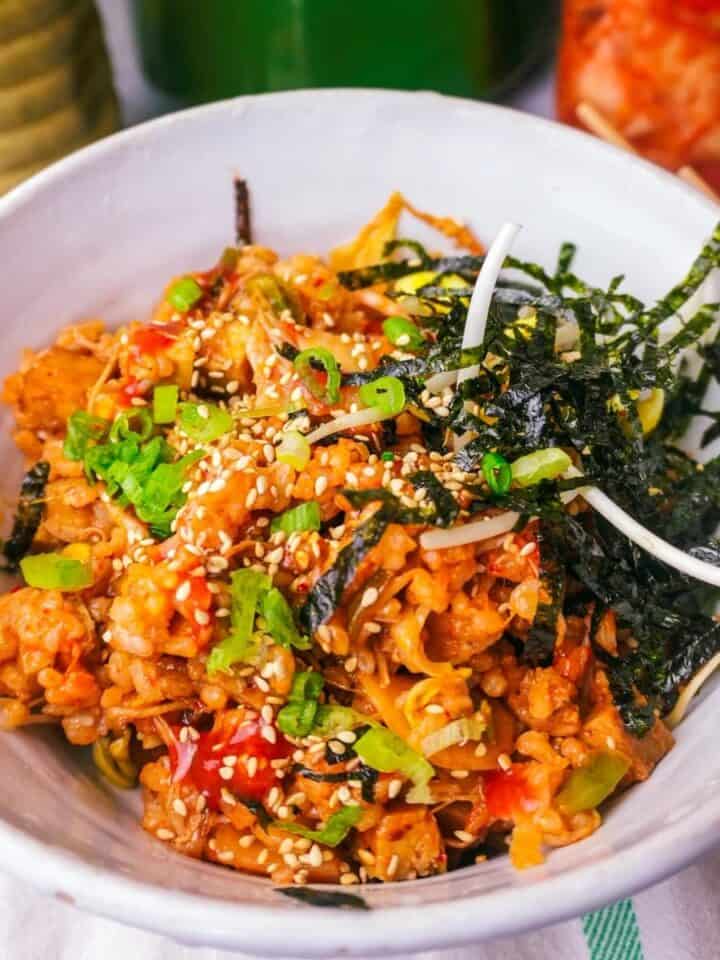
Swap it for napa cabbage-based vegan kimchi in vegan kimchi fried rice (you're welcome), or rock it in my Korean BBQ seitan or gochujang seitan sandwiches.
However you use it, you are gonna want to make some every month or two for the rest of your days on this strange kimchi planet we all inhabit together.

![]()
This vegan radish kimchi has the perfect balance of spice and tang and it's super easy to make!! Will definitely be making another batch soon.
Jump to:
🥰 Why you'll adore this vegan kkakdugi recipe
✅ Tested and Approved Worldwide: Like all of my other vegan recipes, I had recipe testers from all over the world give it a go-result? A foolproof method that delivers authentic Kkakdugi every time.
✊ Vegan AF & GF: Like all of my vegan Korean recipes, this Kkakdugi is completely plant-based-no fish sauce, no shrimp paste, just pure, probiotic-packed goodness. That means no animals were harmed in the making of this crunchy, spicy masterpiece!
🔬 Natural Fermentation Magic: The natural sugars in Korean pear feed the fermentation process, helping your radish develop that deep, tangy flavor. The result? A perfectly balanced kimchi that starts its fermentation journey quickly and naturally, and just gets better with time.
⚡ Ridiculously Easy to Make: No oil to preserve it like you will find in Indian pickles (I'm looking at you mango pickle and hari mirch achar) or complicated fermentation gear needed-just toss, mix, and let nature do the work. If you can chop a radish and blend up some paste, you can make this delicious kimchi.

👩🍳 Learn to make the BEST vegan Korean food
This 5-day guide to my most popular Korean recipes is 100% FREE, & you'll love the actual heck out of it 🥰
🫙 Vegan Radish Kimchi Ingredients

Korean radish
Dense, slightly sweet, and firm enough to stay crunchy long after fermentation-Korean radish (mu, 무) is the gold standard for Kkakdugi. If you can't find it, daikon radish works too-it'll be slightly softer but still delicious. And since radishes don't always come in perfect recipe-sized portions, any leftovers can go straight into vegan banh mi or a somen salad.
Salt
Salt does way more than just seasoning in this radish kimchi recipe. It pulls moisture from the radish, softening it while creating a hostile environment for bad bacteria so only the good, fermentation-friendly microbes thrive. And most of the salt gets rinsed off before the real magic happens, so don't panic-your kkakdugi won't end up overly salty. Fine sea salt or kosher salt are best here, since iodized salt can mess with the fermentation process.
Gochugaru (Korean Red Pepper Flakes)
Gochugaru (고춧가루) is the key to authentic kimchi. These hot pepper flakes deliver the signature deep red color, a balanced heat, and a subtle smoky sweetness in this easy kimchi recipe. Different brands vary in spice level, so adjust to taste.
If you can't find gochugaru, Aleppo pepper makes a great substitute-it has a similar mild heat, no seeds, and a fruity undertone. I use these red peppers in vegan Turkish recipes like cranberry ezme and soslu patlıcan, and it works beautifully in Kkakdugi too.
Aromatics
Garlic (manul, 마늘) and onion (yangpa, 양파) are non-negotiables in Kkakdugi, building deep, savory flavor while helping keep unwanted bacteria in check. Garlic brings that signature pungent kick, while onion adds natural sweetness that balances out the spice and acidity.
If you're out of regular onions, shallots work great here too-I use them all the time in sambal dabu dabu and vegan drunken noodles, and they bring a similar mild sweetness.
Water
We're just drizzling in enough water to get the paste moving-no need to overdo it. A slightly wetter paste makes it easier to coat the radish evenly and helps keep the pieces submerged in their own juices, preventing air pockets and unwanted mold. Stick to filtered or dechlorinated water since chlorine can interfere with fermentation.
Korean Pear
Korean pear (bae, 배) is the traditional choice for naturally sweetening the kimchi paste while adding a crisp, fruity depth. It also helps kickstart fermentation by feeding the good bacteria. If you can't find one, Fuji apple works just as well-it's my secret to next-level vegan Japanese curry and does wonders here too.
*See the recipe card at the bottom of the page for exact quantities, nutritional info, and detailed cooking directions.
🤯 Variations
Baek Kkakdugi (White Radish Kimchi):
For a milder, non-spicy version, omit the gochugaru and add a little additional aromatics like sliced ginger and garlic. This variation highlights the natural sweetness and pungency of the radish and is a cooler side to serve with spicier meals like sundubu jjigae.
Gul Kkakdugi (Oyster Radish Kimchi):
Traditionally, fresh oysters are often added to Kkakdugi. To keep it completely vegan, substitute the plain water with kombu broth to achieve that fishy vibe without harming a single lovable fish.

Grab my easy-yo-use app that builds your whole week with real, chef-tested vegan dinners in 30 seconds, customized to your budget, time, and taste, with a shopping list sorted by aisle.

📖 How to make vegan radish kimchi
Follow these step-by-step photos (with handy tips!) to nail this delicious vegan Kkakdugi on your first go! Or scroll down to the bottom of this page for the easy-to-print recipe card.

Step One
Slice to meet you:
Peel the radish and cut it into 1 cm cubes. Discard any withered ends and roots of the scallions and cut them into short sections.

Step Two
A Salt and Battery:
Place the diced radish and sliced scallions in a large mixing bowl and toss it with the salt until evenly coated. Cover the bowl with a plate or lid and let it sit for 1 hour to kill off bacteria and make the radish slightly more tender.
✅ Gotta run somewhere? It's OK to let this sit for up to 4 hours if you want. The salt will continue to tenderize the radish and make it easier for the kimchi paste to penetrate.

Step Three
Sir Rinse-a-Lot:
Once it's nice and brined, rinse the radish thoroughly under cold water until it no longer tastes salty, then drain well. Let the radish and scallions rest in a colander for 10 minutes to fully air dry.

Step Four
Pear Pressure:
Meanwhile, throw the gochugaru, garlic, onion, ginger, sugar, salt, and Korean pear (if using) into a food processor. Blend for 90 seconds until the mixture is smooth and fully combined.

Step Five
Mad Drip:
While blending, drizzle in just enough of the water as needed to get a smooth paste.
Step Six
Dress to Impress:
Transfer the drained radish to a clean mixing bowl, add the scallions, and pour in the kimchi paste. Toss everything together until each radish cube is evenly coated in that deep red, flavor-packed mixture.

Step Seven
Jar Wars:
Pack the coated radish into a clean (ideally freshly boiled and then air dried), airtight glass jar, pressing it down as you go to minimize air pockets. Leave a little space at the top to account for expansion as it ferments. Cover and let it sit at room temperature for 1-2 days, depending on the warmth of your kitchen. When you see air bubbles forming, use a sterilized metal spoon to press the radish down into its own juices to remove any trapped air.

Step Eight
To Brine or Not to Brine:
At this point, you can start enjoying it right away, or let it ripen in the fridge for up to 4 weeks.
💡 Serving Ideas
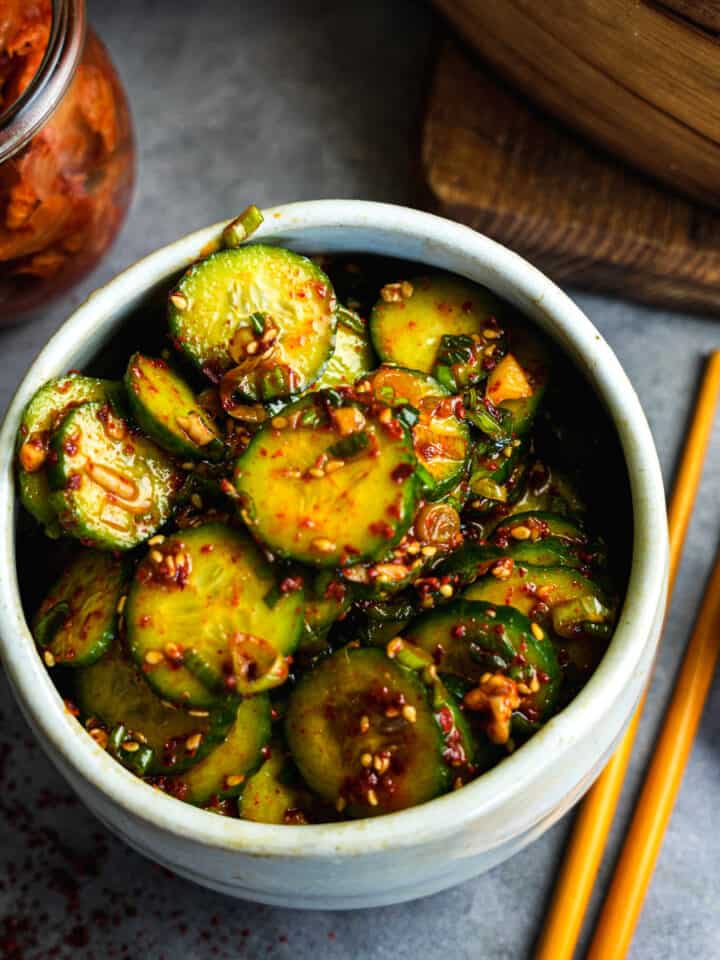
Kkakdugi kimchi is a classic banchan (Korean side dish), and no Korean meal feels complete without one-or a few, actually. This crunchy, spicy radish kimchi slays on rice bowls with other banchans like oi muchim (Korean cucumber salad). Or for a cool, garlicky contrast, rock out some Korean scallion salad, which adds a fresh, slightly spicy bite to balance Kkakdugi's deep, fermented funk.
For a full meal, tofu karaage or vegan bulgogi are no-brainers. If you're after something crispy, vegan Korean fried chicken is an unreal pairing, with Kkakdugi cutting through the rich, sticky coating. For gluten-free freaks, Korean braised tofu (dubu jorim) brings deep, umami-packed soy flavors that play perfectly against the bright, spicy bite of the radish kimchi.
And for dessert? Kkwabaegi (twisted Korean donuts) are a must-light, fluffy AF, and just sweet enough to mellow out that spice.
👉 Top tips
- Choose the Right Radish: Opt for firm, heavy Korean radishes (mu) with smooth skin and a vibrant green top. These radishes have a natural sweetness and crunch that's essential for authentic kkakdugi. If you can't find those, daikon is 100% ok to use instead.
- Mind the Fermentation Temperature: Fermentation is temperature-sensitive. In warmer climates, your kkakdugi may ferment faster, leading to a tangier taste. Keep an eye on it, especially if your kitchen is warmer than the low 70s, and adjust the fermentation time to achieve your preferred flavor.
- Use Non-Iodized Salt: Stick to coarse sea salt or kosher salt for salting the radish. Iodized salt can interfere with fermentation and may result in an off taste.
- Ensure Proper Submersion: When packing the radish mixture into your jar, press down firmly to eliminate air pockets and ensure the radish pieces are submerged in their own juices. This anaerobic environment is crucial for proper fermentation and prevents unwanted mold growth.
🤷♀️ Recipe FAQs
Kkakdugi is a type of kimchi made from diced radish, typically Korean radish or daikon. The radish cubes are fermented with seasonings like gochugaru (Korean red pepper flakes), garlic, ginger, and sometimes fish sauce or salted shrimp, resulting in a spicy, tangy, and crunchy side dish. It's been a staple in Korean cuisine for centuries and is the perfect side dish for everything from rice bowls to late-night snacking.
Kkakdugi (깍두기) is pronounced "kkak-doo-gee". The "kk" sound is a tense k, similar to the hard "k" in "skate". The "ak" is short and sharp, like the "ock" in "sock." The "doo" is smooth, and the "gi" is like "gee" in "geese." Say it a few times and you'll sound like a pro at your next Korean BBQ night, or you might just crack yourself up thinking it sounds a bit more like kaka-dookie than you'd like to admit.
Sure, I guess if you hate good fresh food with all of your heart. Freezing Kkakdugi turns that perfect crunchy texture into a sad, mushy mess that will make 1,000 ponies cry at your bar mitzvah.
The radish will lose its snap, the brine will separate, and the whole thing will just feel... wrong. If you somehow made too much (unlikely, but okay), just keep it in the fridge-it lasts for months and only gets better with time.
🧊 Refrigeration:
Store Kkakdugi in an airtight container, a glass jar or a non-reactive ceramic container with a lid work best. Keep it in the fridge, and it will continue to ferment slowly, developing deeper flavors over time. It's best eaten within four weeks but can last up to three months if stored properly. Make sure the radish pieces stay submerged in their brine to prevent exposure to air, which can lead to spoilage.
✌️You'll love these vegan Korean recipes:


Learn to make the most insane Korean sandwiches you've ever had in this super-fun cooking class with Chef Adam Sobel!


Kkakdugi (Vegan Radish Kimchi) Recipe
Equipment
- Large mixing bowl
- mason jar
Ingredients
- 4 lbs. Korean radish or daikon, peeled and diced 1 cm.
- 4 scallions washed and cut in 1 cm. sections
- ¼ cup salt don't worry, this gets rinsed out
Instructions
- Place the diced radish and cut scallions in a large mixing bowl. Sprinkle with salt and toss to coat. Cover the bowl with a plate or pot lid, and let sit for 1 hour, until the radish releases liquid.
- Rinse very thoroughly under cold water until no longer salty tasting and drain well. Allow the radish and scallion pieces to air dry in the colander for 10 minutes.
- In a food processor, combine gochugaru, garlic, onion, ginger, sugar, salt, and Korean pear. Blend for 90 seconds, or until smooth.
- Drizzle in just enough of the water as it blends to get a smooth paste.
- Transfer the drained radish to a clean mixing bowl. Add the scallions and kimchi paste. Toss thoroughly until the radish is evenly coated.
- Pack the mixture into a clean (ideally fully sterilized) airtight glass jar, pressing down to minimize air pockets. Leave a small amount of space at the top to allow for expansion during fermentation. Cover and let ferment at room temperature for 1-2 days, depending on the temperature in your kitchen. Once bubbly, press the radish kimchi down into its own liquids to press out air pockets.
- Either use immediately or let it continue ripening under refrigeration for up to 4 weeks.
Notes
Enter your email & I'll send it to your inbox. Plus, get great new recipes from me every week!
By submitting this form, you consent to receive emails from Cinnamon Snail.


Beth says
The diced radish pictured looks larger than 1 cm which is less than a half inch. Should it be1 cm? I've never made it before and want to get this right.
Thanks for all your wonderful recipes!
Adam Sobel says
Sorry if the picture looks weird. These are in fact 1 cm. pieces. I actually used a dicing machine with a 1 cm disk in it to make sure it was accurate. 1 cm. or smaller is fine.
Morgana says
Incredibly good
Helena says
Do the scallions get salted then rinsed with the radish?
Adam Sobel says
Yes! Good question. Like the radish, there is some bacteria on the scallions that we want to diminish with the brining. The salt will also help draw out moisture/goo from the scallions, which will get rinsed off before being combined with the chili paste.
Reshyll says
This vegan radish kimchi has the perfect balance of spice and tang and it’s super easy to make!! Will definitely be making another batch soon.