*This post may contain affiliate links. Read more »
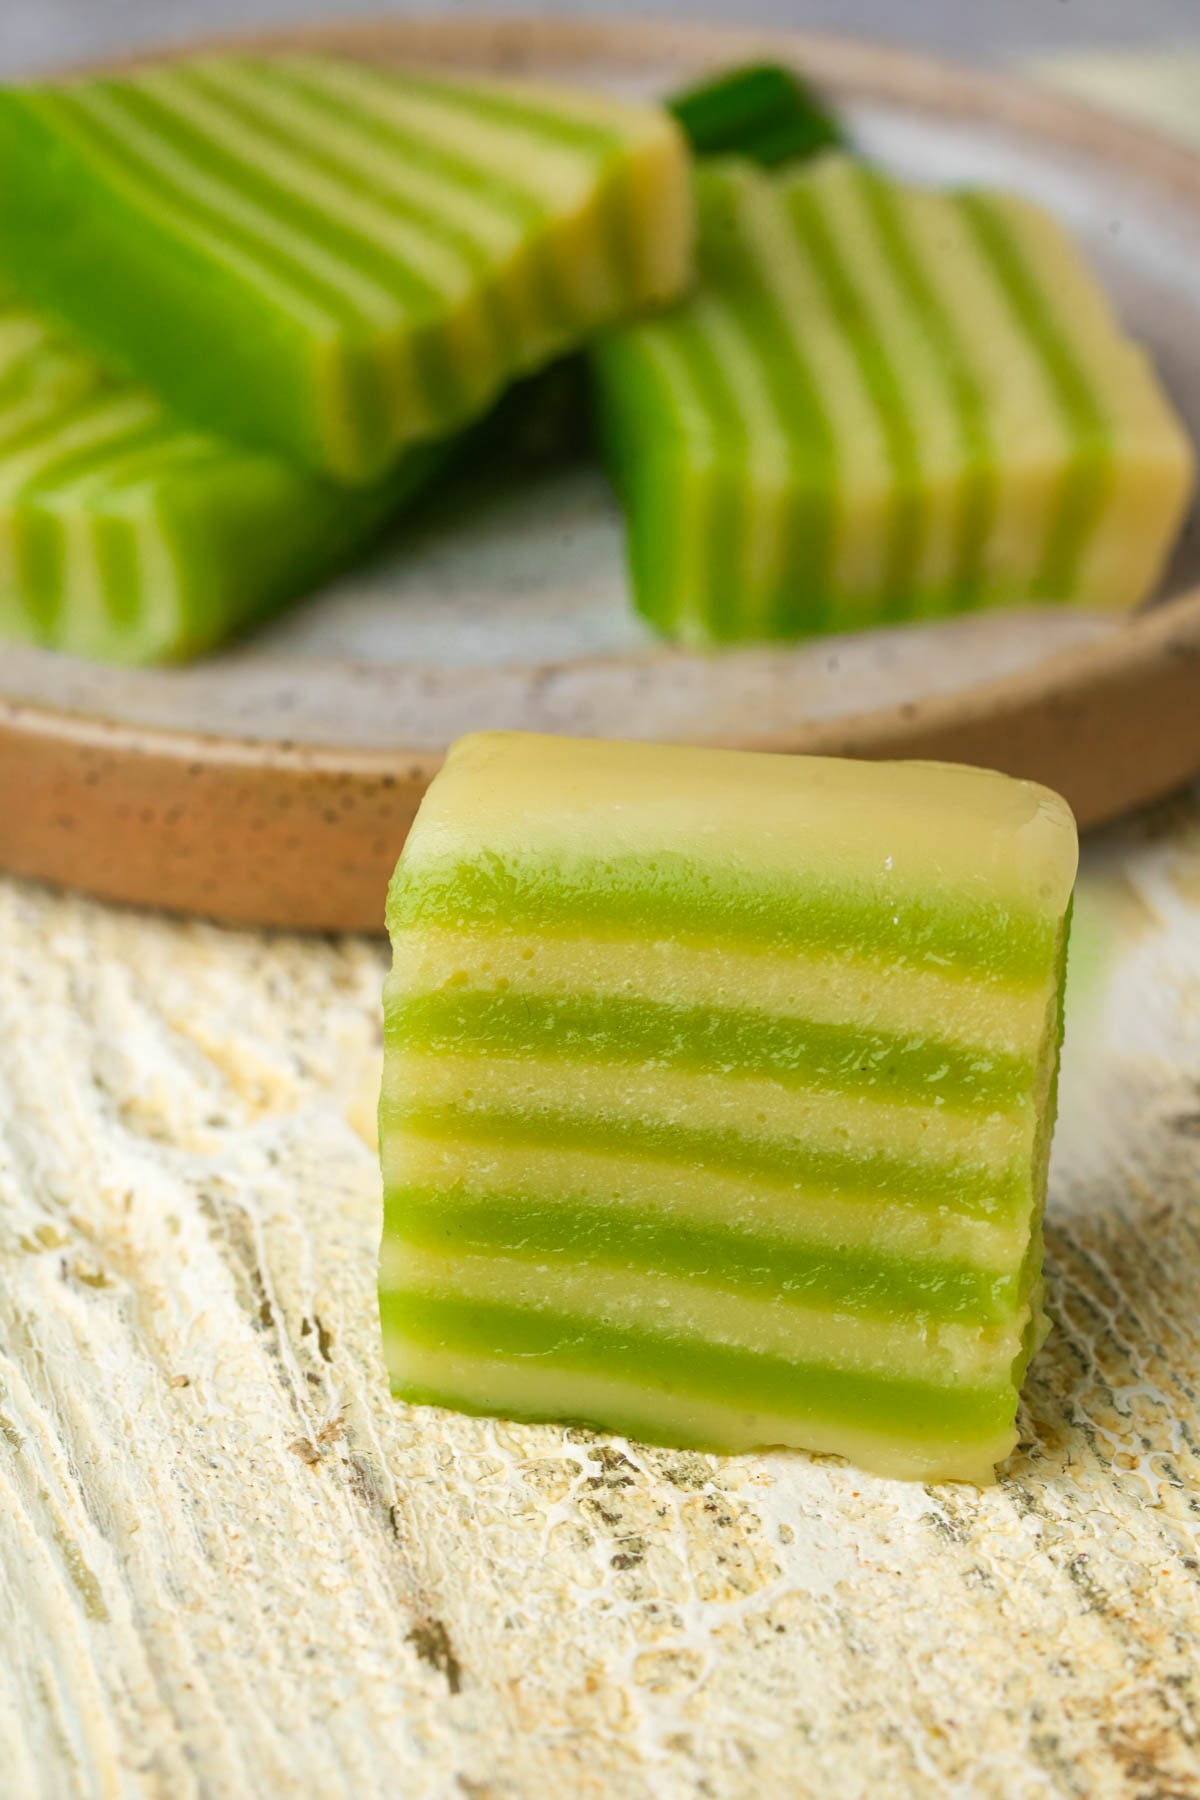
Okay so full disclosure, this Banh Da Lon looks intimidating to make, but any ol' fool can whip up some of this naturally vegan treat with just a few ingredients. Chewy from mung beans, stretchy from tapioca, pleasantly lightly sweet, pandan-green (like naturally, not with some garbage-ass artificial nonsense slop), wildly satisfying to slice, and even more fun to snack on.

Enter your email & I'll send it to your inbox. Plus, get great new recipes from me every week!
By submitting this form, you consent to receive emails from Cinnamon Snail.
This classic Vietnamese steamed layer cake is pretty similar to kuih lapis, which you'll find in Malaysia, Indonesia, and Singapore, but Vietnam rocks it with mung bean layers which I think adds a really lovely subtle flavor, and makes these feel more like food than a useless sweet.
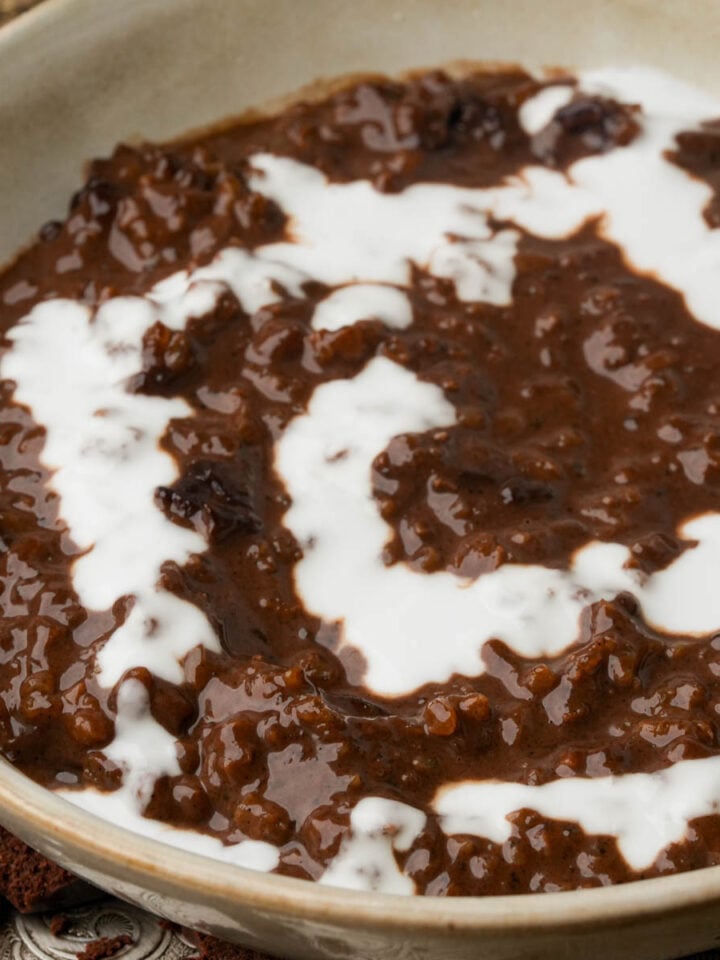
If beans and veggies in dessert make your eyebrow twitch, Southeast Asia would like a word with you. Chè ba màu, chè khoai môn, and bubur cha cha all live in the same world where beans and vegetables are made sweet enough to satisfy a midnight craving.
Bánh da lợn is just continuing the long tradition of desserts that sound friggin' nuts until you take 1 bite and stop looking at it weirdly.
Jump to:
🥰Why you'll adore this Banh Da Lon recipe
✊ Vegan AF and GF: Like all of my Vietnamese vegan recipes, this one doesn't cause any harm to any living creatures. And if you have a gluten sensitivity, you'll be pretty psyched that this recipe won't harm you either.
🍃 Naturally Green, Zero Nonsense: That pandan color comes straight from leaves, not food dye shenanigans (which is what most pandan extracts really rely on). It looks cool on purpose and smells actually incredible without tasting like you licked a candle at the artificial fart emporium.
⏱ Looks Shmancy, Acts Normal: This whole cake shows up looking high-effort but the process is kinda meditative and chill. You're just layering, steaming, and vibing instead of spiraling into madness.
✅ Tested and Actually Works: Like all the recipes on my blog, this pandan dessert has undergone rigorous recipe testing by hundreds of home cooks all around the world, including in Vietnam where it comes from!

🙌 Learn to make restaurant-quality Vietnamese food
This guide to my most popular vegan Vietnamese recipes is 100% FREE, & you'll love the actual heck out of it 🥰
🍰 Banh Da Lon Ingredients

Mung Beans
Split yellow mung beans are what you need for this. Not the green ones, OK? These are the same beans I use in my homemade Just Egg recipe too.
Tapioca Starch
If you've eaten kem chuối, ondeh ondeh, or martabak manis and thought wondered what made the texture bouncy but fluffy like that, tapioca starch is why. It gives bánh da lợn that signature chew. Arrowroot is fine to swap in instead, if you can't get your hands on tapioca because you live in a boat in the middle of an ocean or whatever.
Rice Flours
There's two kinds of rice flour used in this recipe, and that's important. White rice flour handles stability so the layers don't slump into a mystery shape. Glutinous rice flour is starchier and waaay stretchier, which gives the cake that soft pull and makes sure the pandan layers are as booing as a proper bounce castle at your bat mitzvah.
Despite its name, I swear there's zero gluten involved. Sweet rice flour is the exact same thing and swaps 1:1 without any problem.
Pandan
These leaves give the cake its natural green color and that unmistakable almost sweet breakfast cereal-like aroma. Fresh leaves will have the best flavor, but frozen pandan leaves, which is what you'll find at most Asian food stores work pretty great too once thawed.
*See the recipe card at the bottom of the page for exact quantities, nutritional info, and detailed cooking directions.
📖 How to make Vietnamese steamed pandan cakes
You can absolutely skip the chatter and head straight for the printable recipe card if speed is your love language. If you want the confidence boost version with explanations and tips baked in, these step-by-step instructions have your back. I won't yell. Much.
Step One
Say It Ain't Soak:
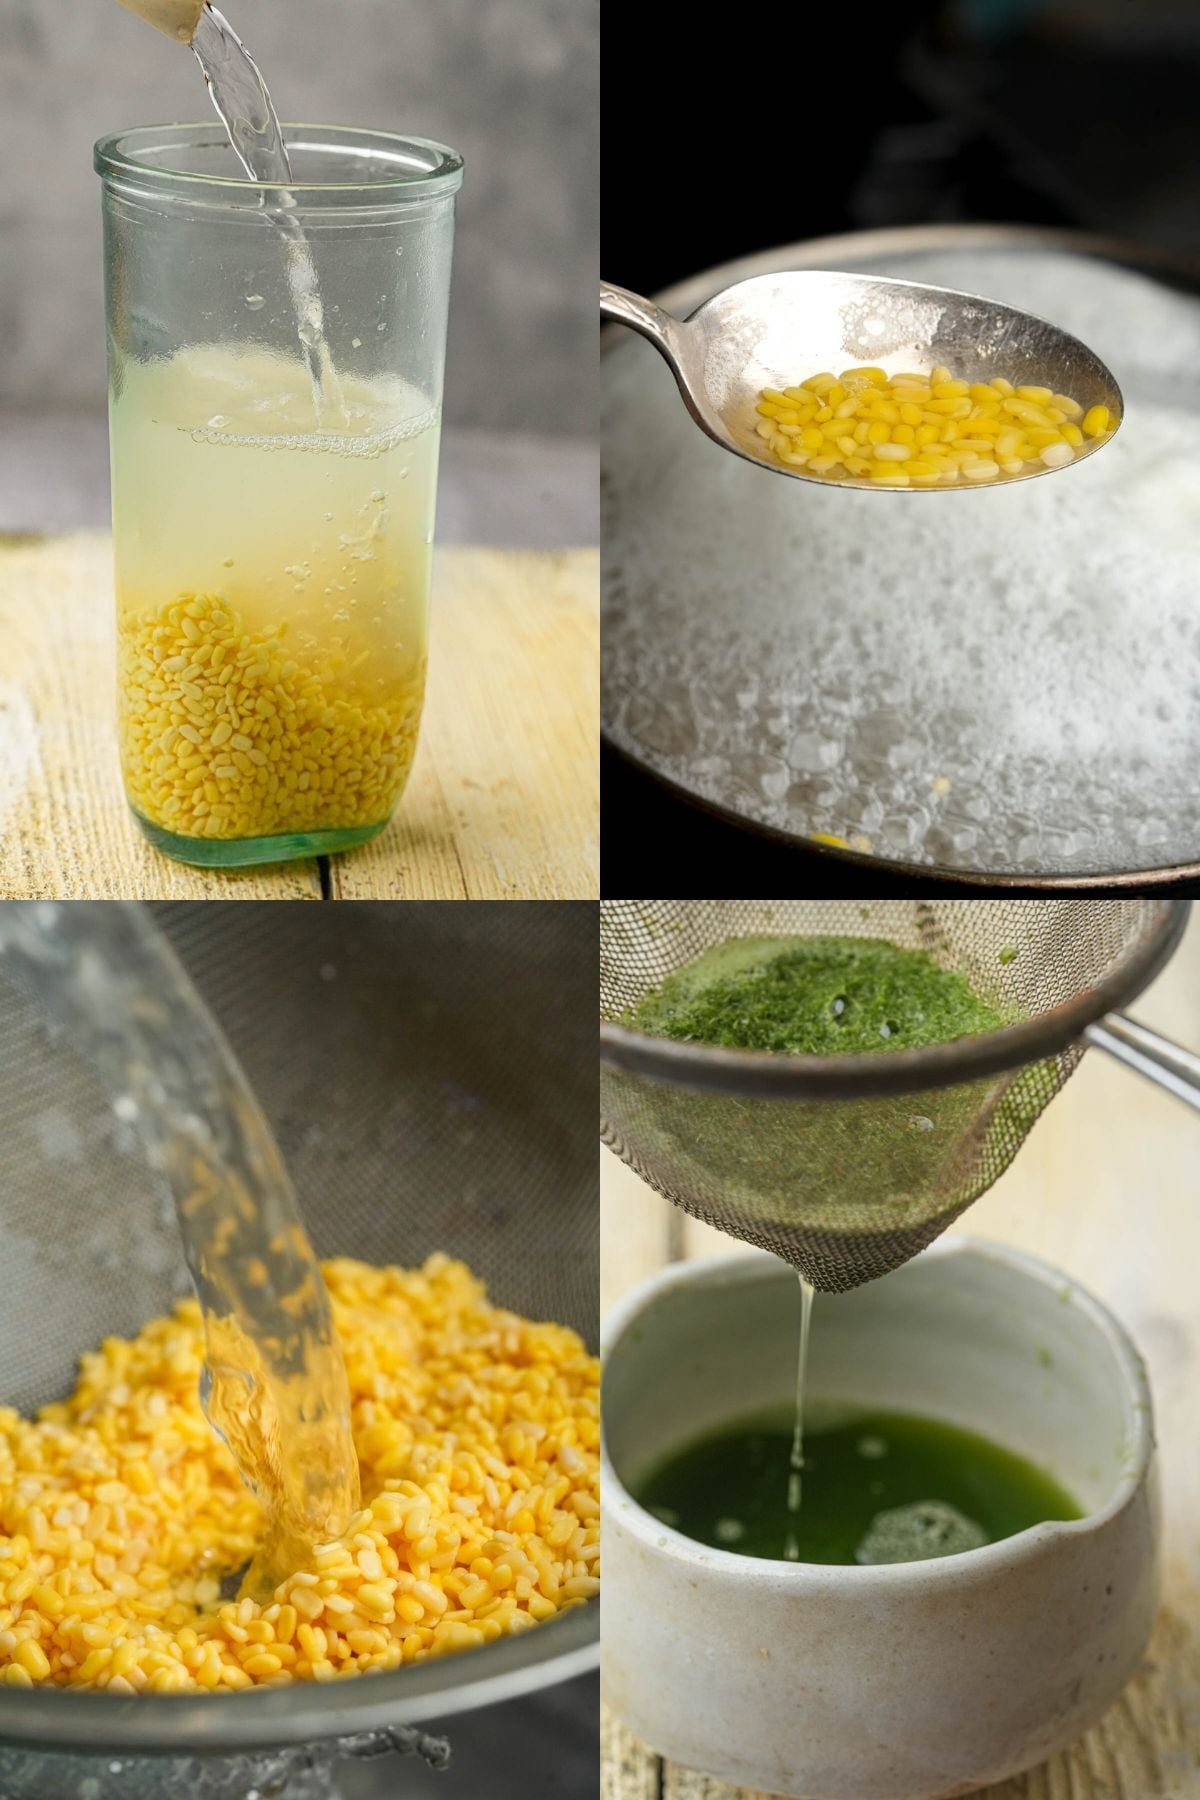
Rinse the mung beans, then soak them in water for 4 hours. Drain thoroughly.
Step Two
Bean There, Done That:
Transfer the soaked beans to a saucepan, cover with fresh water, and cook over medium heat until completely tender and easily crushed with a spoon.
Step Three
Mung Night in Bangkok Makes a Hard Man Humble:
Drain well and allow to cool slightly.
Transfer the cooked mung beans to a blender, add the tapioca starch, rice flour, sugar, coconut milk, vanilla, salt, and oil, then blend until completely smooth, stopping to scrape the blender as needed.
Step Four
Pandanie Darko:
Place the pandan leaves and water in a blender and blend until the leaves are fully broken down. Strain the liquid through a fine-mesh strainer, pressing firmly to extract as much liquid as possible, then discard the solids.

Step Five
Batterminator 2- Lost in New York:
Place the pandan juice into a blender along with the tapioca starch, glutinous rice flour, sugar, coconut milk, salt, and oil to the pandan liquid and blend until smooth.
Step Six
Steamage Mutant Ninja Turtles:
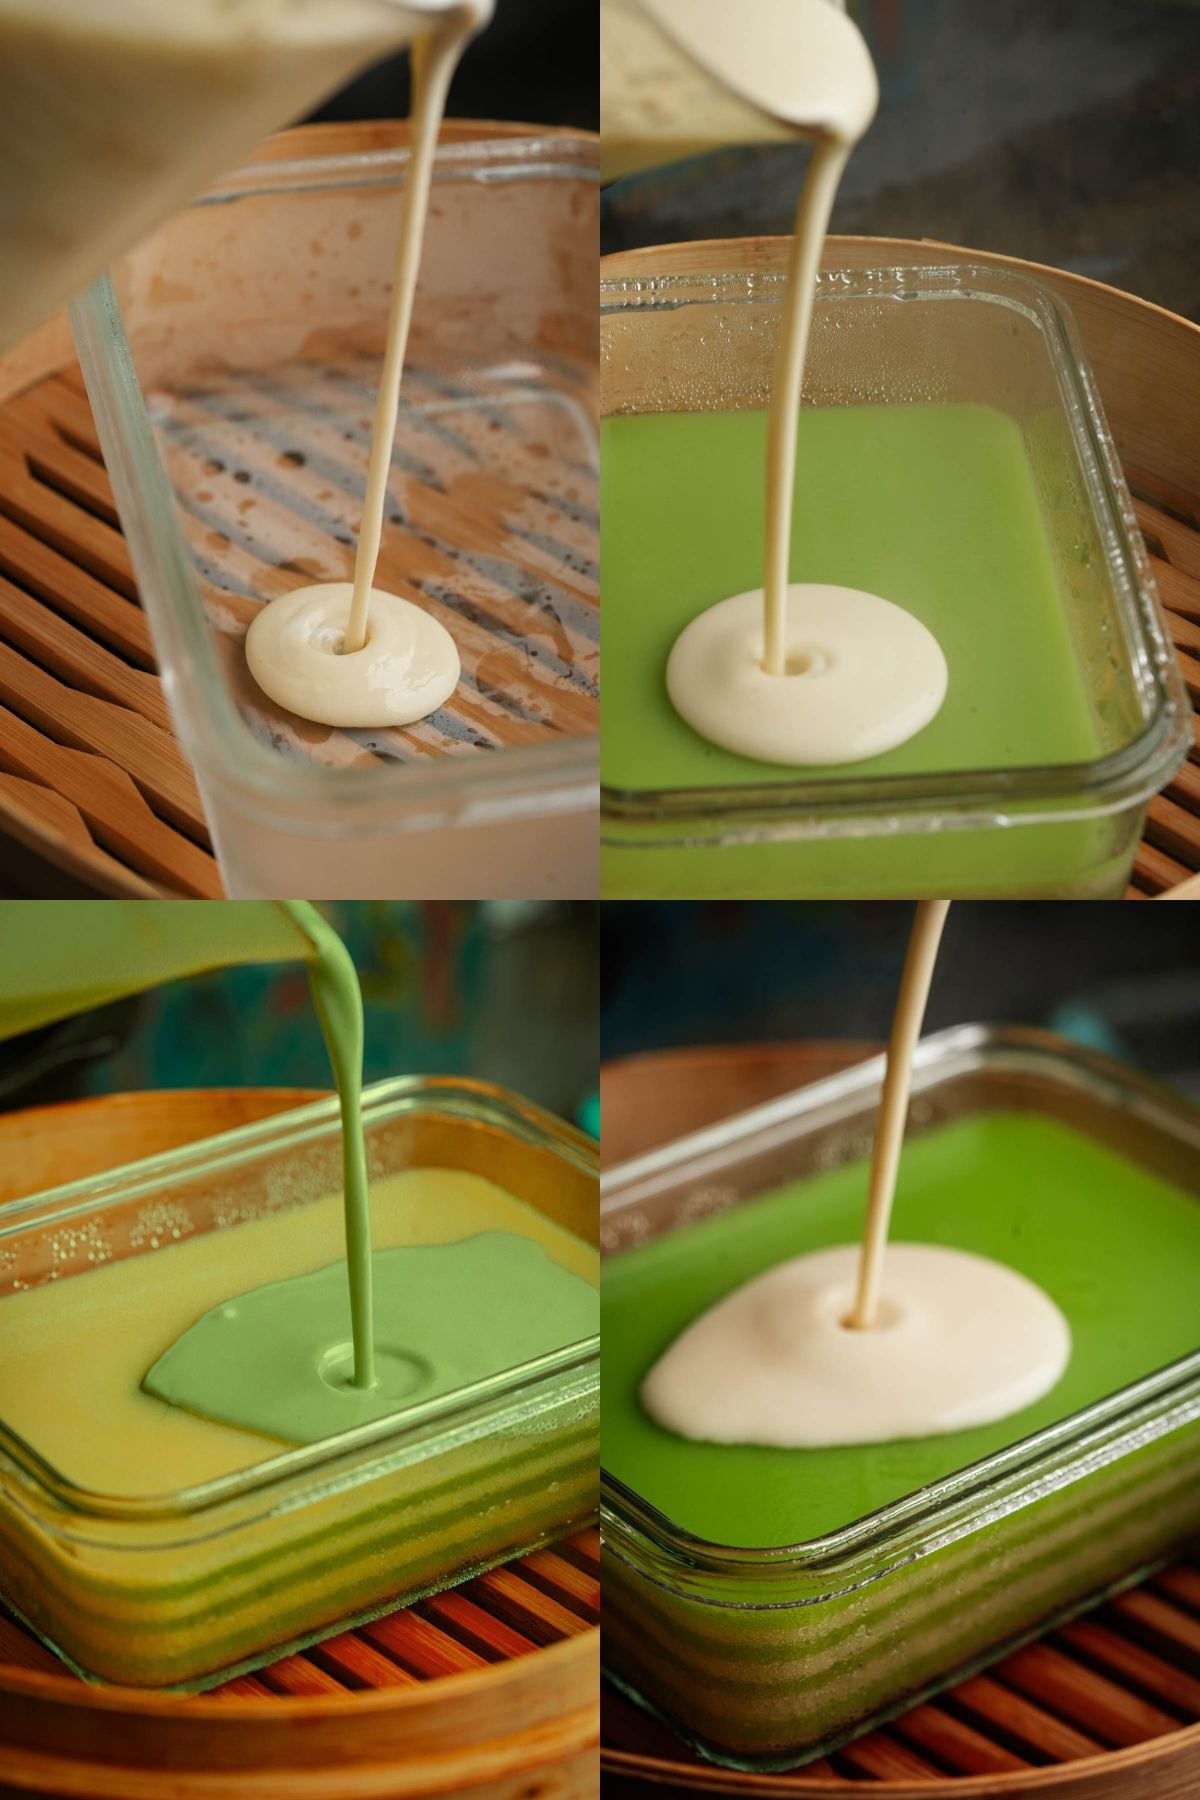
Prepare a steamer and bring the water to a steady boil over medium-high heat. Lightly oil a heatproof pan suitable for steaming, and gently stir each batter before using, as the starches will settle.
Pour a thin layer of the mung bean batter into the prepared pan and place it in the steamer. Cover and steam for 4 minutes until the surface is set and no longer liquid, removing the lid carefully to prevent condensation from dripping onto the cake. Pour a layer of the pandan batter over the set mung bean layer and steam for 4 minutes until set.
Continuing to alternate layers, stirring each batter before pouring, steaming each layer for 4 minutes, and keeping the layers thin and even.
Step Seven
Ten Harry Met Sally:
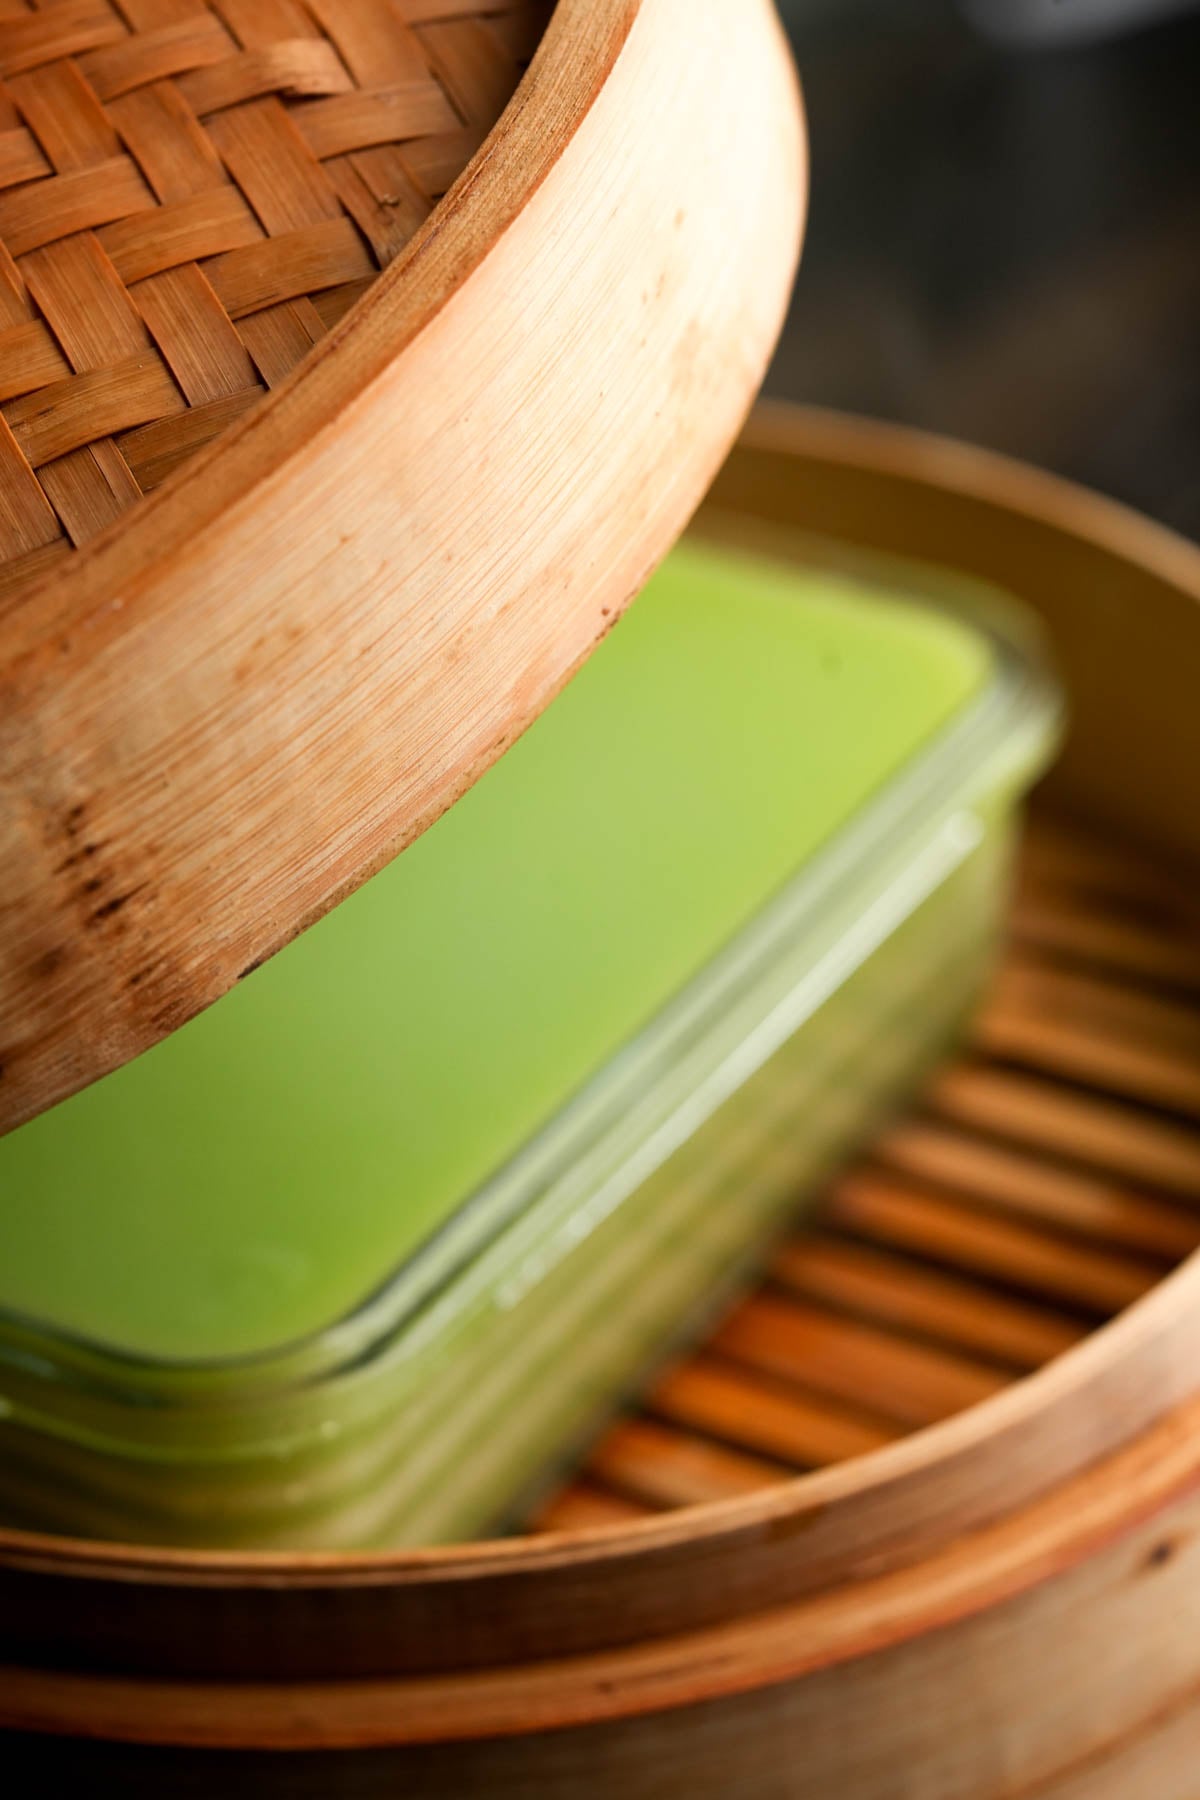
After the final layer is added, steam for an additional 10 minutes to make sure the cake is fully cooked through.

Step Eight
Stabby Stabby:
Remove the pan from the steamer and let the cake cool completely at room temperature. Once fully cooled, cut into portions using a lightly oiled knife before serving.

Grab my easy-yo-use app that builds your whole week with real, chef-tested vegan dinners in 30 seconds, customized to your budget, time, and taste, with a shopping list sorted by aisle.

👉 Top tips
- Stir Before Every Single Pour: Tapioca starch settles fast and does not care about your feelings. Give the green batter and the yellow batter a gentle stir right before pouring every layer or you'll end up with some layers having a thiner or thicker consistency than others.
- Wipe the Lid Every Time: Condensation dripping back onto the cake causes dents and gummy patches. This is the main reason I opt to use a bamboo steamer. If your lid is glass or metal, make sure to wipe it dry every time you open the lid to pour on new layers so the surface doesn't get rained down upon with condensation as it cooks.
- Make Sure There's Water: This might sound obvious, but I am trying to make this foolproof for ya. If your steamer runs dry, the layers will stop setting, and you will chance ruining your pot or steamer racks.
- IMPORTANT: Cool It Fully Before Cutting: I can't understate this, this cake needs time to finish setting once it's out of the steamer. Always use an oiled knife to cut this treat. Cutting sooner than 15 minutes leads to smearing and drag marks instead of sharp, tidy slices, which every experienced Banh Da Lon maker will laugh at you about and then you will cry as you hang your head in shame, and wear a dunce cap in the corner.
🤷♀️ Recipe FAQs
This usually happens when layers are poured too thick or the batter isn't stirred before each pour, causing uneven starch concentration. Thin layers and gentle stirring fix almost every texture issue.
❄️ Refrigerating
Once fully cooled, place Banh Da Lon in an airtight container and refrigerate for up to 2 days. Make sure slices are fully cool before sealing so condensation doesn't mess with the texture.
🔥 Stovetop Reheating
After the banh da lon cools completely, it gets pleasantly stiff and tough. To bring pieces of it back to life after that point, just place them in a steamer and steam on medium heat for 7-8 minutes, and they'll get nice and soft for ya.
✌️You'll love these vegan Asian desserts too:


Learn to make your fave Vietnamese street food bangers in this super-fun cooking class with Chef Adam Sobel!


Banh Da Lon Recipe
Ingredients
For the Mung Bean Batter:
- ¼ cup split yellow mung beans
- ½ cup tapioca starch
- 1 tablespoon white rice flour
- ⅓ cup sugar
- ¾ cup coconut milk
- 1 teaspoon vanilla extract
- ⅛ teaspoon salt
- ½ teaspoon canola oil vegetable oil, or sunflower oil
For the Pandan Batter:
- ½ cup pandan leaves cut into 1-inch sections
- ¾ cup water
- 1 cup tapioca starch
- ⅓ cup glutinous rice flour
- ⅓ cup sugar
- 1 cup coconut milk
- ⅛ teaspoon salt
- ½ teaspoon canola oil vegetable oil, or sunflower oil
Instructions
- Rinse the mung beans, then soak them in water for 4 hours. Drain thoroughly.
- Transfer the soaked beans to a saucepan, cover with fresh water, and cook over medium heat until the beans are completely tender and can be easily crushed with a spoon. Drain well and allow to cool slightly.
- Transfer the cooked mung beans to a blender. Add the tapioca starch, rice flour, sugar, coconut milk, vanilla, salt and oil. Blend until completely smooth, stopping to scrape the blender as needed.
- Place the pandan leaves and water in a blender and blend until the leaves are fully broken down. Strain the liquid through a fine-mesh strainer, pressing firmly to extract as much liquid as possible. Discard the solids.
- Pour the pandan juice into a blender pitcher along with the tapioca starch, glutinous rice flour, sugar, coconut milk, salt and oil to the pandan liquid and blend until smooth.
- Prepare a steamer and bring the water to a steady boil over medium-high heat. Lightly oil a heatproof pan suitable for steaming. Stir each batter gently before using, as the starches will settle.
- Pour a thin layer of the mung bean batter into the prepared pan. Place the pan in the steamer, cover, and steam for 4 minutes, until the surface is set and no longer liquid. Remove the lid carefully to prevent condensation from dripping onto the cake. Pour a layer of the pandan batter over the set mung bean layer. Steam for 4 minutes, until set. Continue alternating layers, stirring each batter before pouring, steaming each layer for 4 minutes, and keeping the layers thin and even.
- After the final layer is added, steam for an additional 10 minutes to ensure the cake is fully cooked through.
- Remove the pan from the steamer and let the cake cool completely to room temperature. Once fully cooled, cut into portions with a well oiled knife before serving.
Notes
Enter your email & I'll send it to your inbox. Plus, get great new recipes from me every week!
By submitting this form, you consent to receive emails from Cinnamon Snail.
Dipti says
So beautiful and I love the dal base!