*This post may contain affiliate links. Read more »
Trying to pull off a legendary vegan apple pie, pecan pie, or vegan pumpkin pie and need a flaky vegan pie crust that will blow your guests' minds? This isn't just some wack, supermarket-quality crust; it's the golden key to unlocking pies that folks won't even guess are vegan.


Enter your email & I'll send it to your inbox. Plus, get great new recipes from me every week!
By submitting this form, you consent to receive emails from Cinnamon Snail.
This recipe has been veganized and tweaked from my favorite pie crust recipe in Greg Patent's book Baking in America. It's a crust that accompanies the "$25,000 Apple Pie", a rustic classic that won a huge competition. And making it, even in this veganized form, you can see why!
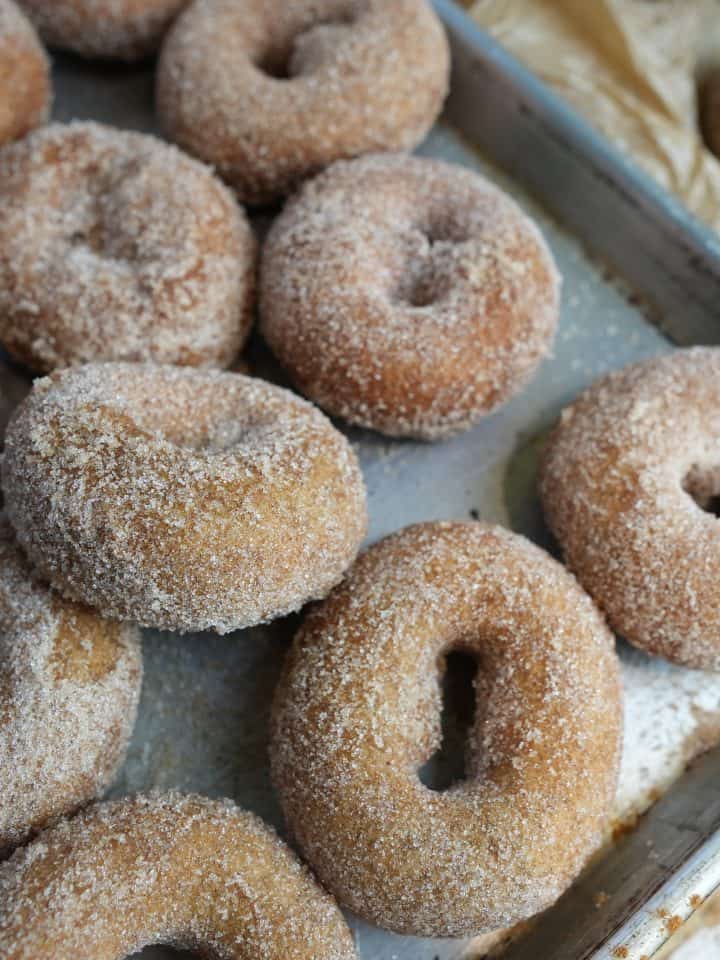
Whether you're a seasoned baker or this is your once-every-few-years foray into pie making, you are in great hands with this recipe. Why the heck should you take it from me? I have won more awards, and been featured in more cooking shows and newspapers than I can even remember any more for desserts like my vegan apple cider donuts (featured in the New York Times), Korean donut twists, and even my Medhu Vadai (featured on the Food Network).
You are gonna have the easiest time making this flawlessly with my step-by-step instructions with clear photos to accompany them, and instructions for pies that require blind baking (I mean, like pies where you need a baked crust and then the filling gets chilled in it, such as key lime, pumpkin chiffon, and lemon meringue). Ready to become a pie crust prodigy? Let's get this banger in your oven!
Jump to:
🥰What you will love about this vegan crust recipe
✊ Vegan AF. Like all the vegan desserts I share, this recipe is a testament to how bangin' food can (and should) be without butter or eggs. No cholesterol, or harm to animals and the planet here.
🔬 Perfect Texture Every Time: The fine-tuned balance of all-purpose and cake flour, along with the roughly broken-up fat in the dough creates beautiful, flaky layers as it bakes.
✅ Tested and Approved Worldwide. Like all of the vegan recipes I share, I meticulously tweaked and perfected this vegan pie crust before having it tested by a massive team of recipe testers from all around the world. I am only sharing it with you now, knowing it will work perfectly wherever you are.

👩🍳 Learn to make the DOPEST desserts
This 5-day guide to the best vegan sweets I have ever made is 100% FREE, & you'll love the actual heck out of it 🥰
🧈 Ingredients for vegan pastry crust
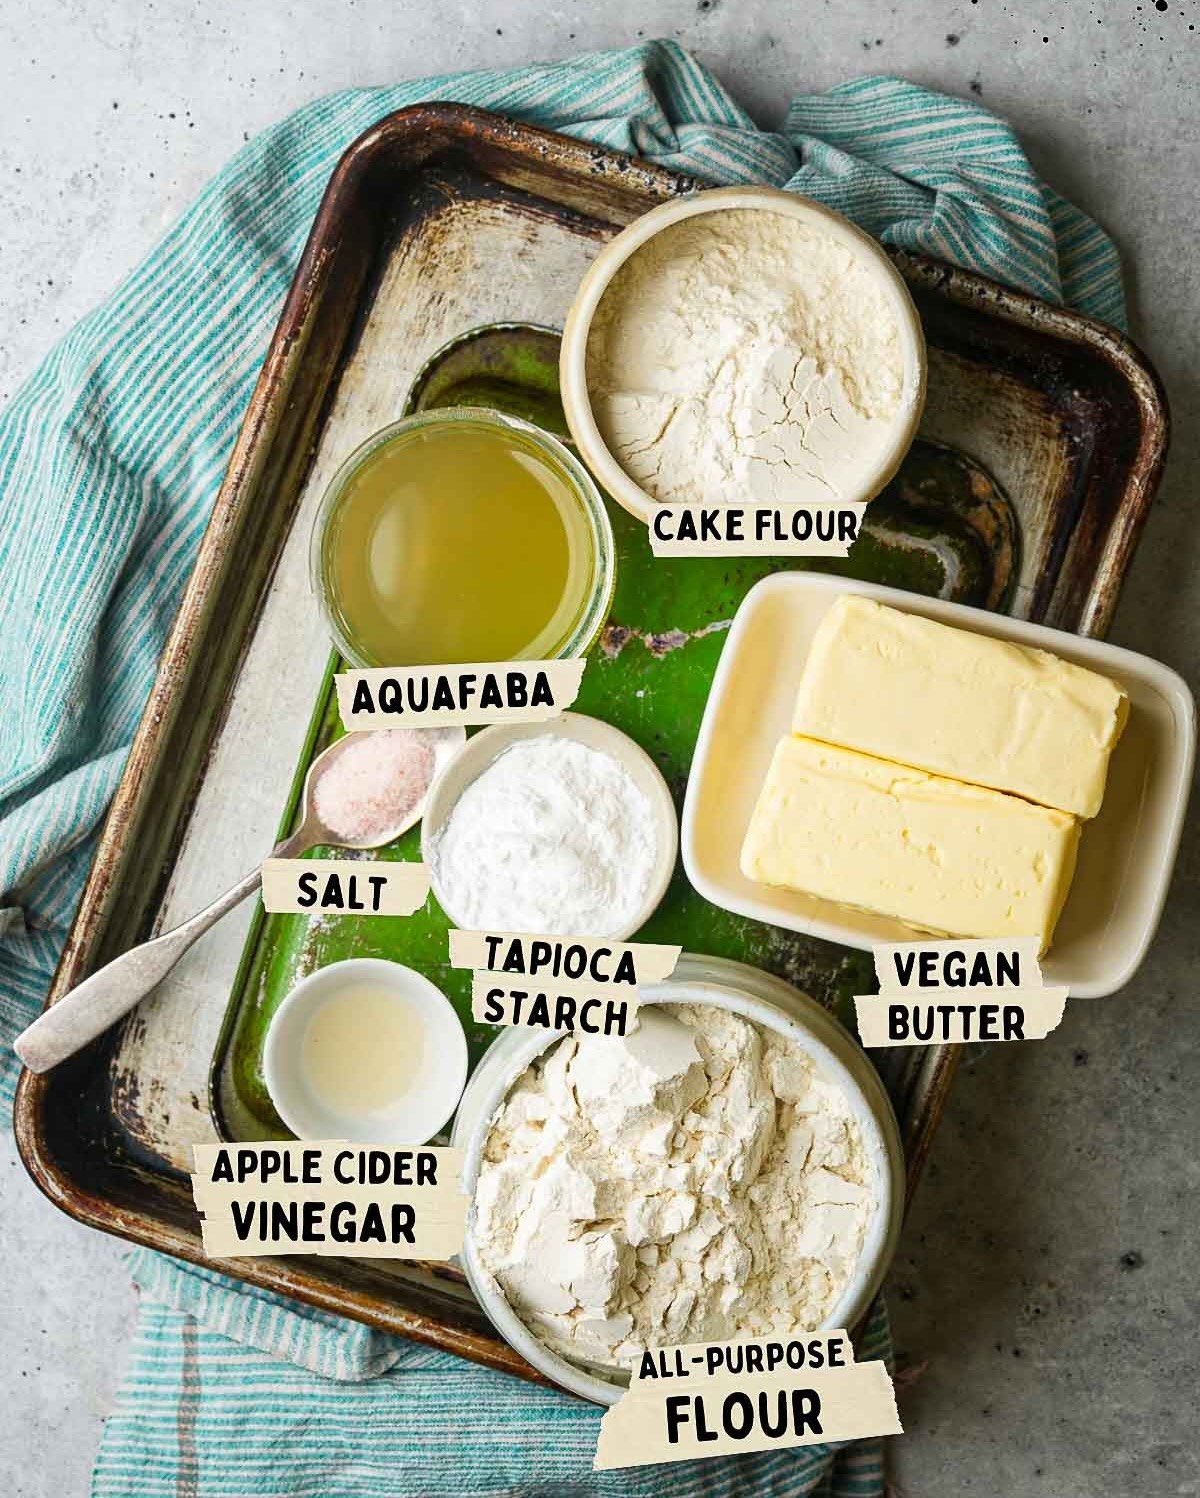
All-Purpose Flour
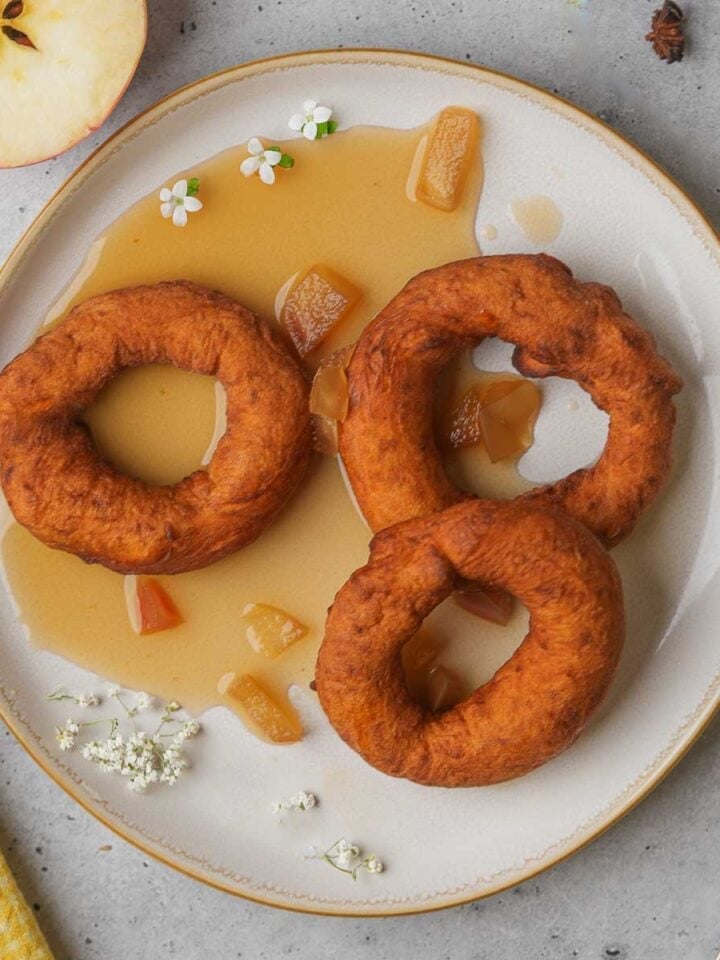
All-purpose flour, often called plain flour outside the US, is the backbone of many baked goods, from vegan apple fritters, and Mexican Buñuelos, to Indonesian bolo kukus. It is probably the flour you already keep on hand for general use (hence the name all-purpose, right?).
Cake Flour
Cake flour, with its finer milling and lower gluten content than all-purpose flour, brings a delicate tenderness to the crust, making it lighter and flakier. If you don't have cake flour on hand, you can roughly substitute it in this recipe by using ¼ cup of additional all-purpose flour with 4 teaspoons of cornstarch or arrowroot added to it.
Vegan Butter
Vegan butter substitutes animal-based fats with plant-based oils, keeping this recipe 100% plant-based while still delivering the rich flavor and flakiness associated with traditional pastry crusts. My personal preference is Earth Balance buttery sticks. I also use this in everything from vegan butter chicken to laminated rghaif pancakes, and it's lovely on its own on top of blue corn pancakes.
Keeping vegan butter cold is key to creating those flaky layers as it melts during baking. If you have an option here, sticks of vegan butter should be used in this recipe, not the vegan butter in plastic tubs, which tend to be softer, with a higher water content. If vegan butter is not available, chilled vegetable shortening or refined coconut oil (the same stuff you might use to make my vegan whipped cream) are ok alternatives, though the crust will not taste as buttery, and you may want to add some additional salt to the recipe.
Apple Cider Vinegar
The small amount of apple cider vinegar in this recipe adds acidity that helps tenderize the dough by inhibiting gluten formation, making the crust tender. It also contributes to the flakiness of the crust. Lemon juice or white vinegar can serve as substitutes without significantly changing the outcome.
Tapioca Starch
Tapioca starch, derived from the cassava plant, acts as a binder and helps to create a smooth, cohesive dough. It's also responsible for the light, crispy texture of the baked crust. Arrowroot powder or cornstarch can be used as alternatives if tapioca starch is unavailable. If you buy a whole bag and don't know what else to use it in, you should make my khao pad, martabak, or onde onde next!
Aquafaba
Aquafaba, the liquid from a can of chickpeas, is a magical ingredient in vegan baking. It acts as an egg substitute, providing structure and moisture to the dough (the same reason I use it in my vegan Savoiardi cookies). This ingredient is crucial for the light, airy texture of the crust. There's no direct substitute for aquafaba's unique properties, but in other recipes, flaxseed or chia seed gel can sometimes be used as a binding agent. I find whipped aquafaba to be much better in this particular recipe.
*See the recipe card at the bottom of the page for exact quantities, nutritional info, and detailed cooking directions.
🤯Variations
Cardamom Pistachio Crust
Making a middle eastern-themed pie, or just want to give your vegan apple pie a new exciting lease on life? Simply add 1 teaspoon of ground cardamom, or bharat, and fold ⅓ cup of crushed pistachios into the dough before chilling and rolling.
Vegan Cinnamon Crust
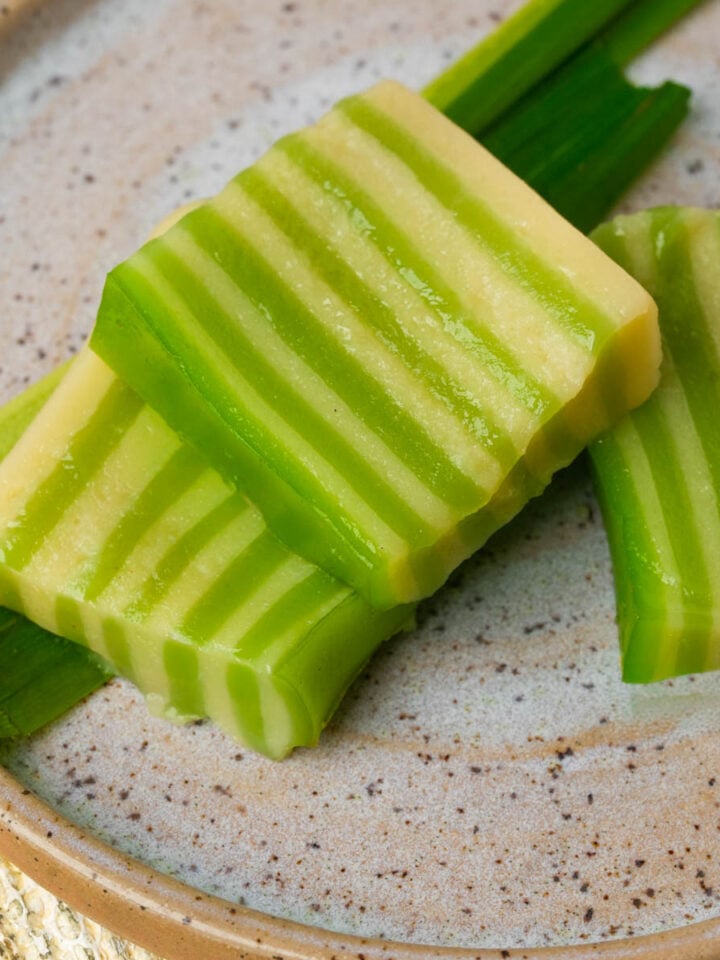
For sweet potato pies or pecan pies, sometimes a little cinnamon and sugar set things off in the right direction. Simply add 1 teaspoon of ground cinnamon to the dough, along with 2 tablespoons of brown sugar, coconut sugar or palm sugar (which is my go-to sweetener for southeast Asian desserts like bubur sumsum, tupig, and kuih dadar).
📖 How to make vegan pie crust
Nail this on your first shot by following these step-by-step photos with helpful tips. Or scroll down to the bottom of this page for the easy-to-print recipe card.

Step One
Break Up With Me:
Begin by sifting or whisking together the all-purpose flour, cake flour, and a pinch of salt in a big bowl. This ensures everything's free of lumps n' clumps before we move on.

Step Two
Butter Bits:
Next, scatter your ice-cold diced vegan butter cubes over the flour blend. Either with a pastry blender or your fingers, blend until you get a crumbly mixture with some bits about the size of peas. These little bits are crucial for flakiness, so don't knead excessively.
✅What I like to do to ensure the fat stays stiff, is to first dice the vegan butter, and then pop it into the freezer on a small plate for 5 minutes. This way you can undo any inadvertent softening you may have caused by briefly handling it to dice it up. Makes sense?
Step Three
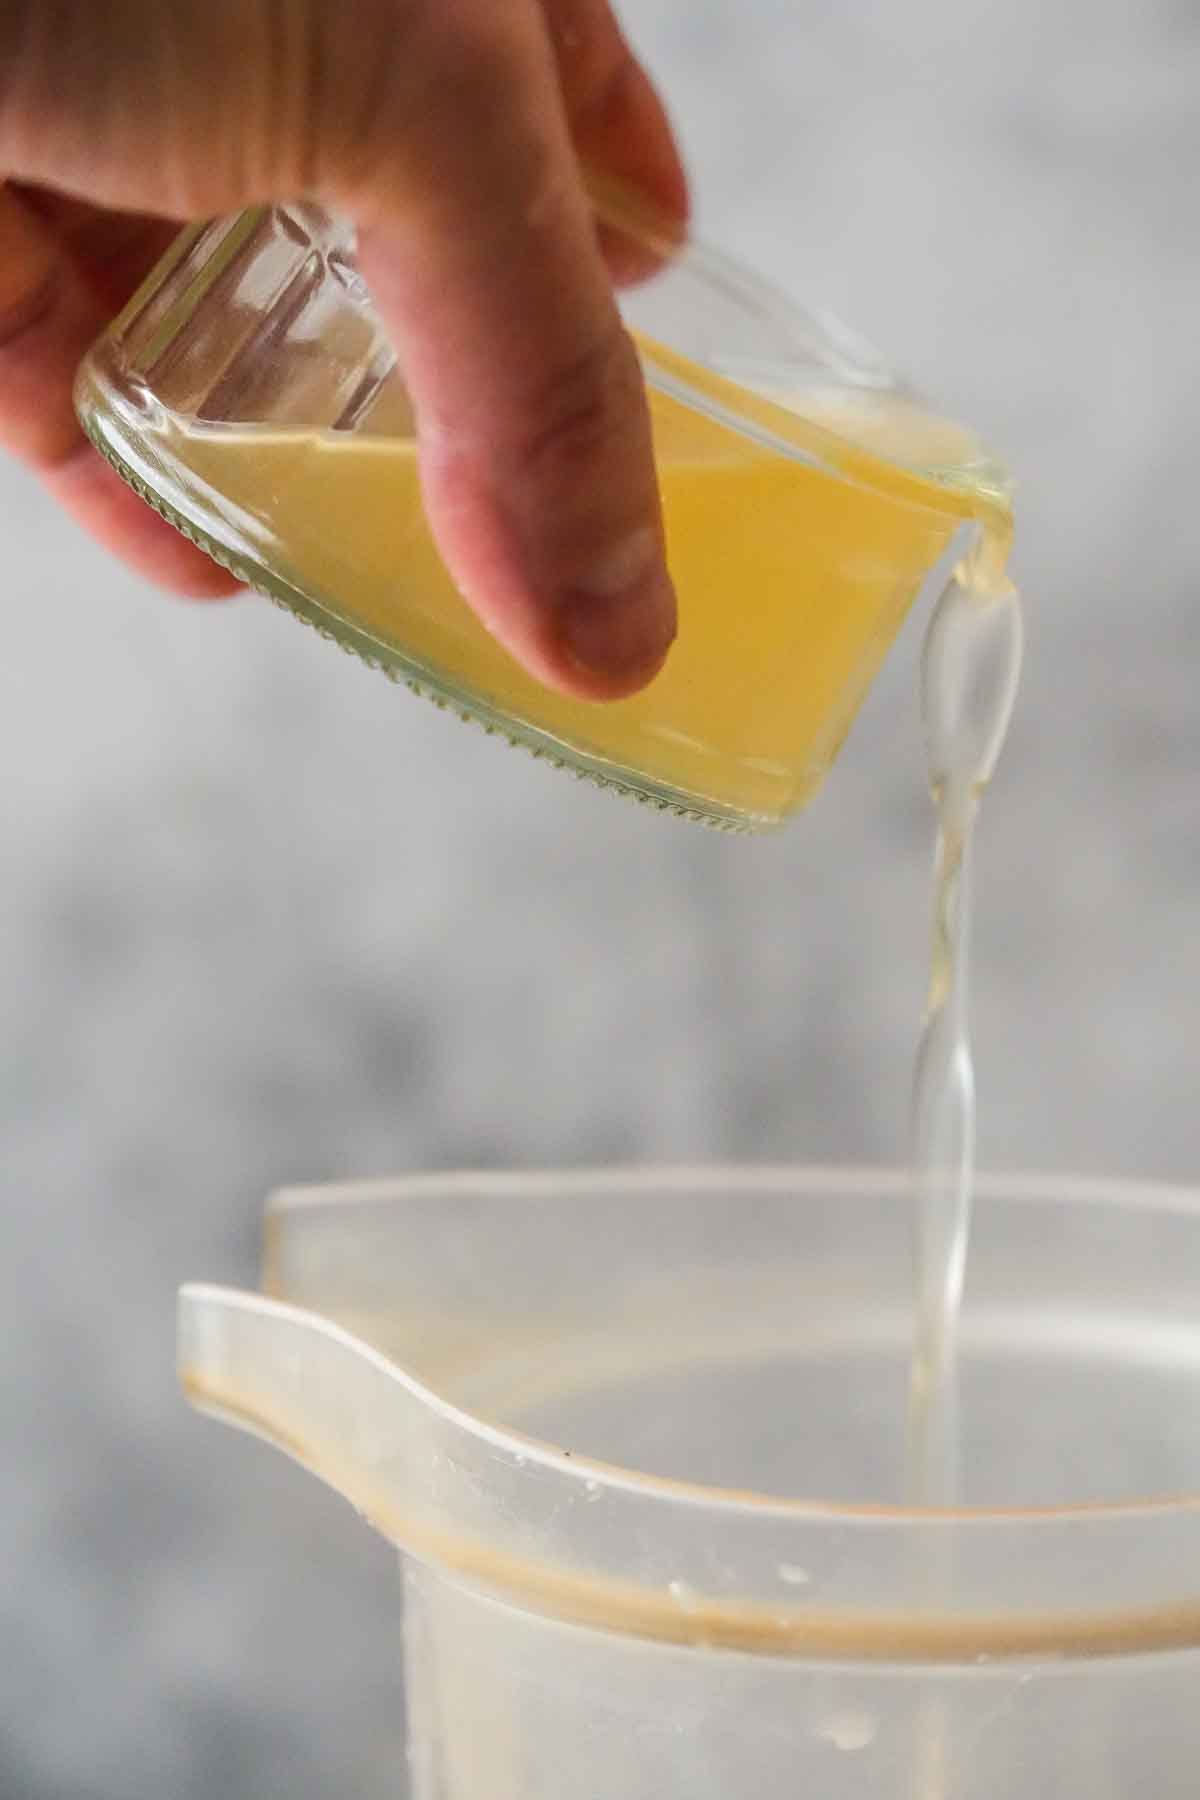
On a Juice Cleanse? Pie Juice:
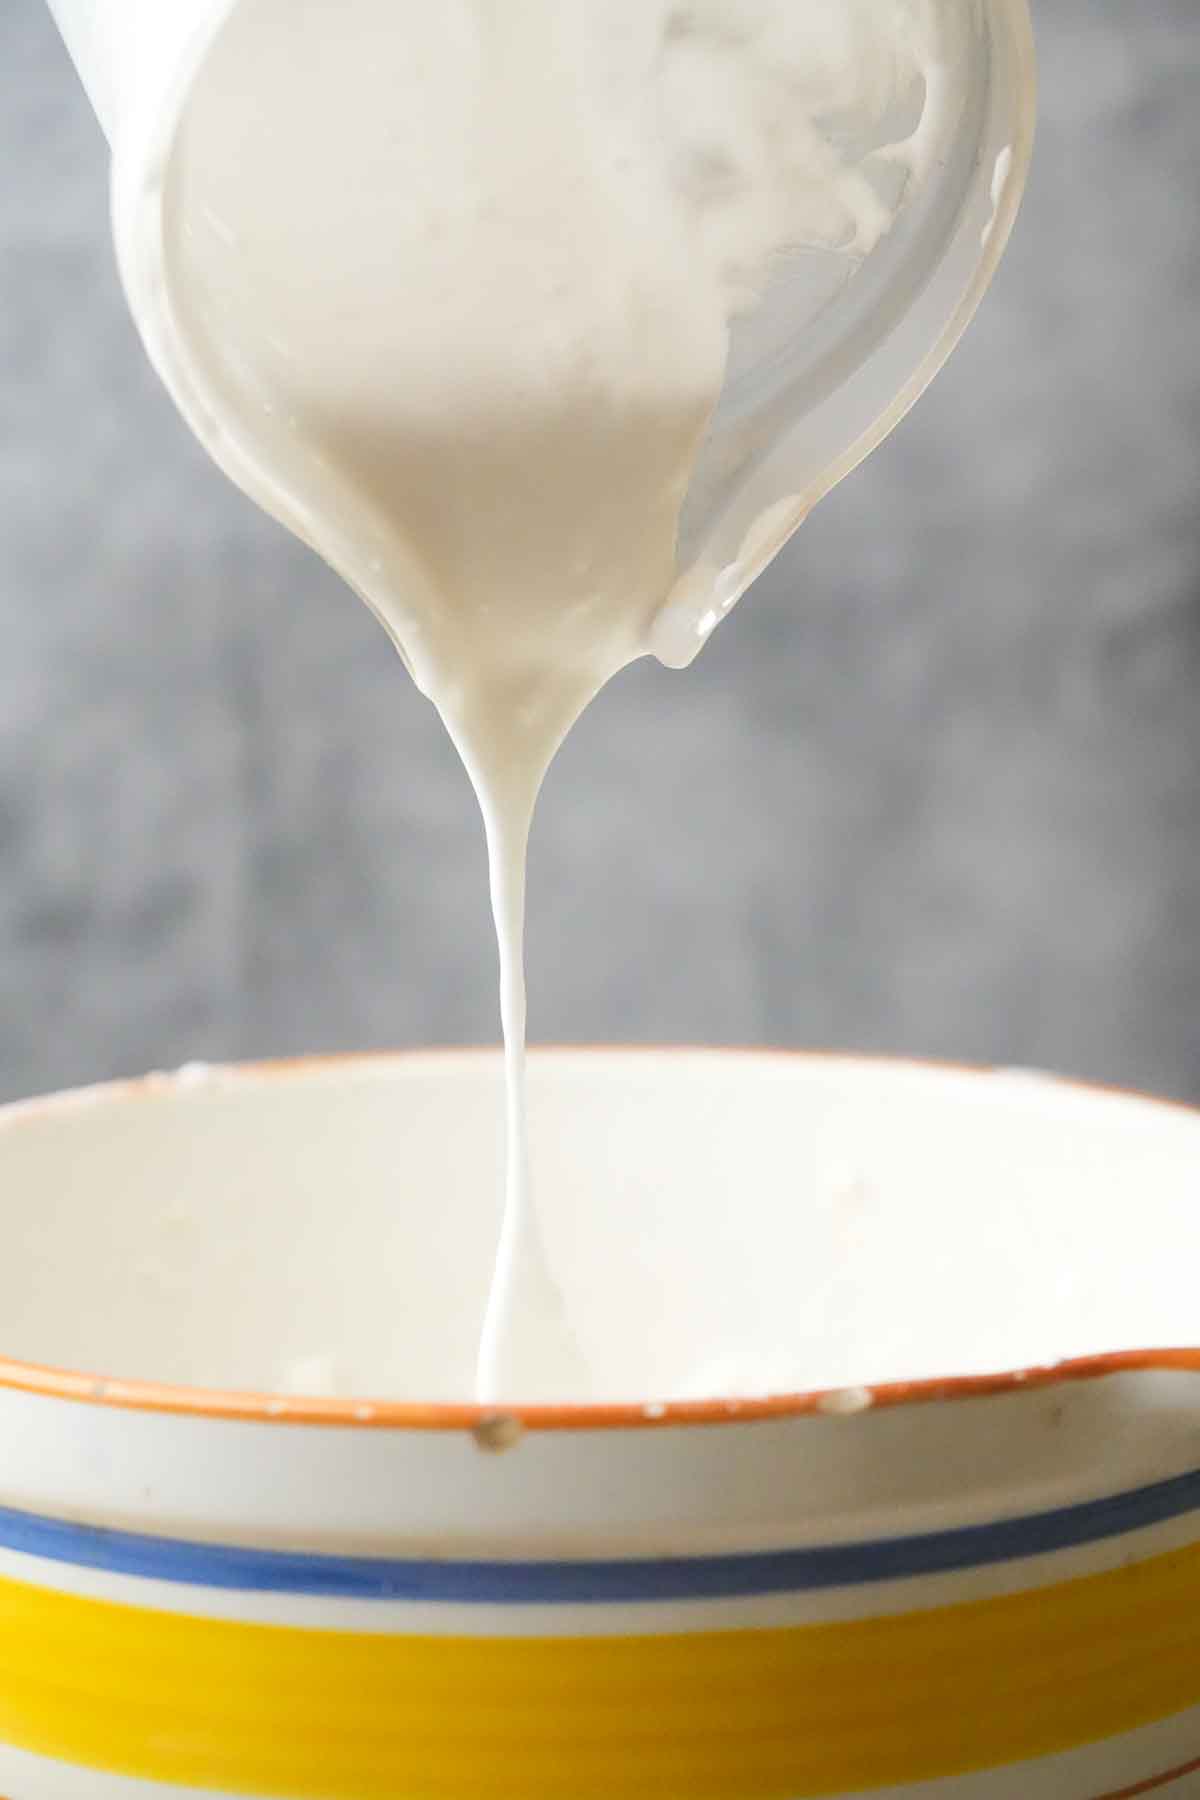
In your blender or food processor, whip the apple cider vinegar, tapioca starch, and cold aquafaba for 90 seconds on high speed. You're looking for a frothy, fully blended mix that resembles whipped egg whites.
(Ignore the heading. I wouldn't really recommend drinking a whole glass of this!)
✅ If you don't have a blender, mix this for a couple of minutes in a bowl using the tines of a fork or a tiny whisk.
Step Four
Dough's Day:
Pour your foamy wet mix into the crumbly flour and butter. With a fork, rubber spatula, or wooden spoon, fold everything together until it starts looking like dough. Remember, overdoing it is the mortal enemy of flakiness. You still want little tiny pockets of fat throughout the dough.
Step Five
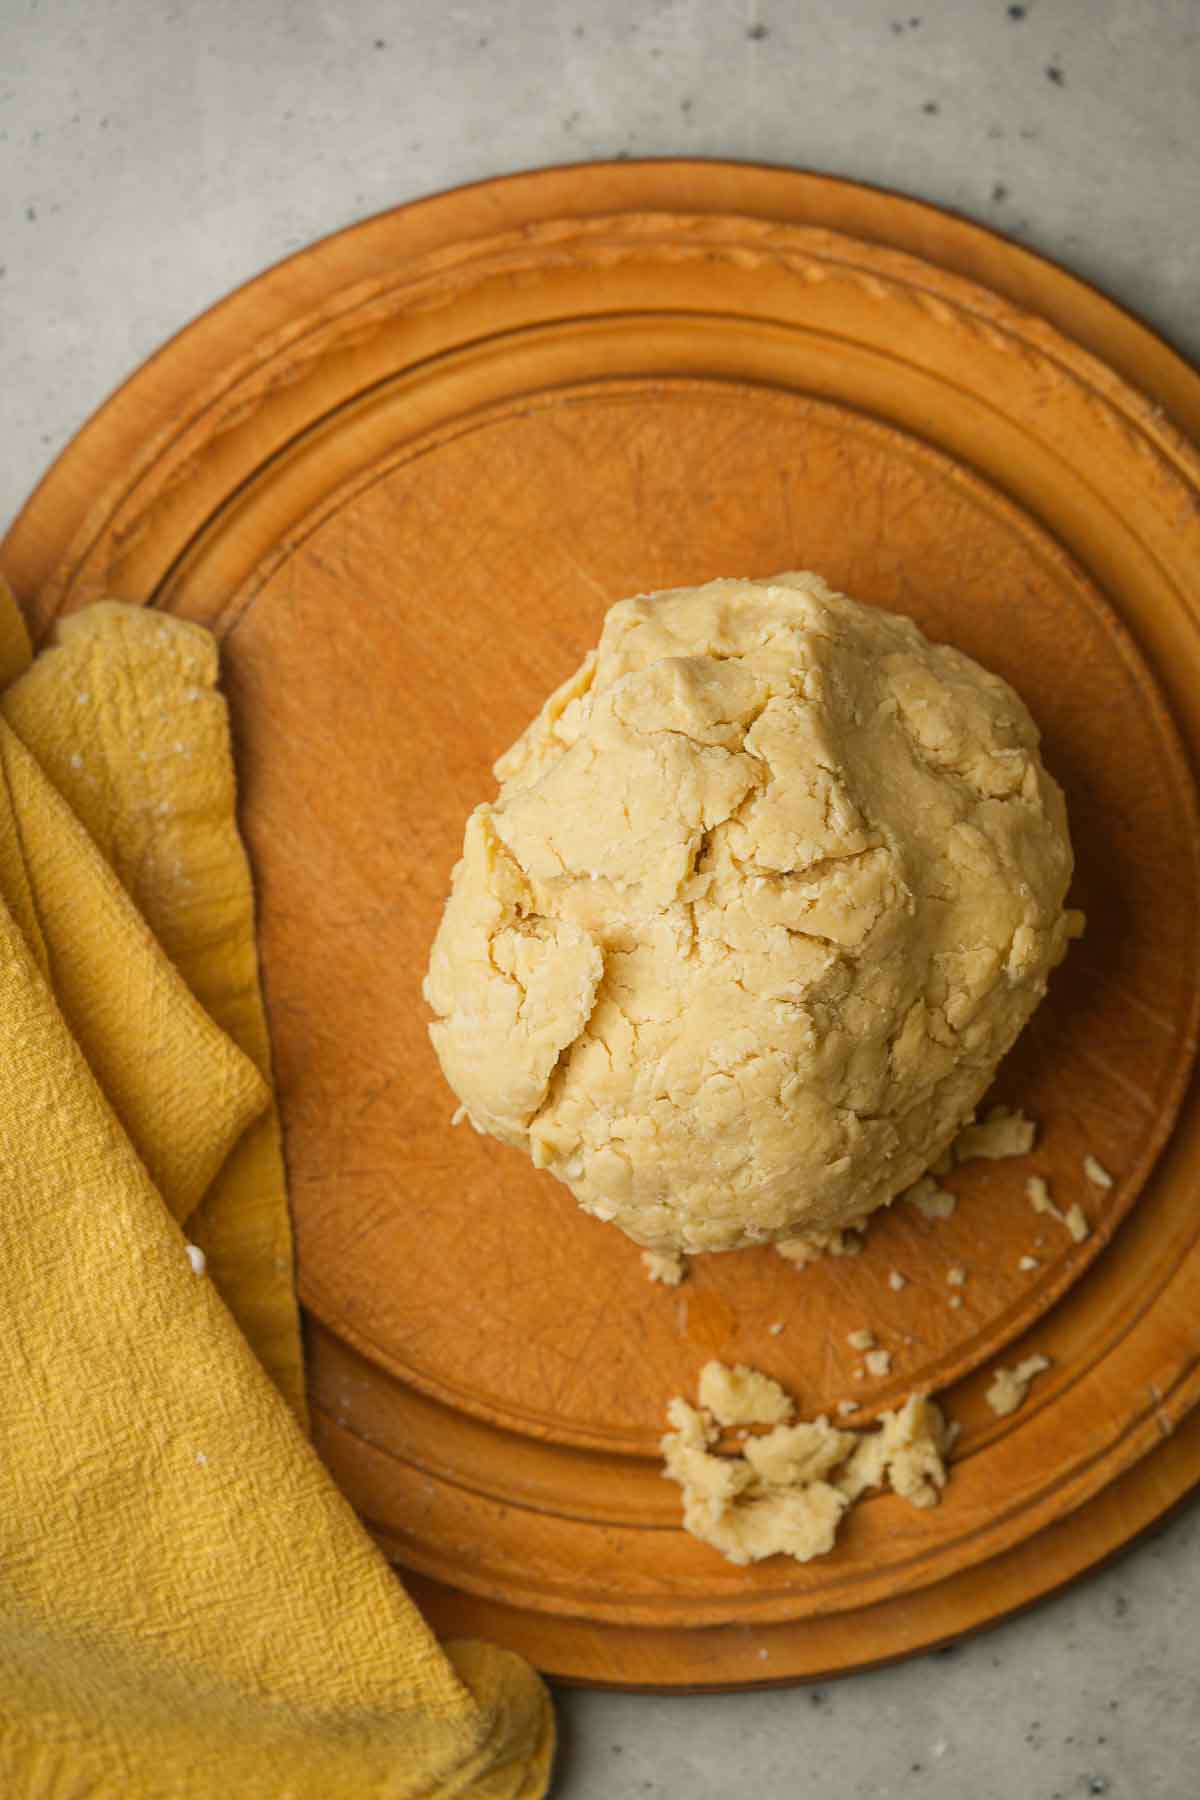
Shape and Chill:
Dump your dough onto a surface with a sprinkle of flour. Form it into a ball and then flatten it into two disks (or single disk if you halved the recipe to make a pie without a top).
If it's too sticky, a little bit more flour can help. Too dry? A splash more aquafaba. Wrap it up in parchment paper, and let it chill in the fridge for ten minutes. This relaxes the gluten, making your dough easier to work with and helps the fat firm up for that flakiness we are going for here.

Step Six
Roll Call:
After chilling, place it onto a lightly floured work surface, and roll it out into a 12-inch circle, about ⅛ inch thick (about 30 cm. by 3 mm. thick), or to the appropriate diameter to be a couple of inches bigger than the size of your pie pan. Then, carefully transfer your rolled dough into a 9-inch pie dish, pressing it in snugly.
✅There are a few easy tricks to move the rolled pastry into the pan without tearing it. One way that I do a lot is to fold the dough in half, and then in half again, forming a triangle of folded dough. Then move that into your pan with the "point" of the triangle facing the center and simply unfold the dough from there.
✅Another way is to wrap the circle of dough around a floured rolling pin, and then unroll the dough over the pie plate. Personally, I do this method less, because I get more flour onto the outside of the dough, which can cause the crust to brown externally before the internal flakes develop when blind baking. If you use this method, you can use a pastry brush to brush off any extra four from the formed crust before baking.

Step Seven
Blind Bake:
Prick the bottom of the dough with a fork. This prevents the dough from puffing up in the oven. Chill the shaped crust in the refrigerator for 10 minutes before baking.
Place a piece of parchment paper or aluminum foil over the chilled crust and fill it with pie weights, dried beans, or uncooked rice to keep the crust flat during baking.
Bake the crust in the preheated oven for about 18-20 minutes. Then, carefully remove the weights and the parchment paper. If the pie crust edges have slid down a little, that's ok! You can hide that when you add the filling and top crust.

Step Eight
The Shape (…of water was not a very good movie)
Now's the time to add your filling. Vegan pumpkin pie filling, savory pot pie fillings, whatever. If you're making a top crust or lattice, go ahead and roll out the remaining dough.
If making a lattice, cut the dough either with a knife, pizza cutter, or a crimped-edge cutter. Then weave the strips of dough together over the filling.

Step Nine
Slice and Dice
If you are leaving the top solid, be sure to cut a few slits in the dough to allow steam to escape.

Step Ten
Bake The Second Time:
Return the pie to the oven and bake for an additional 18-24 minutes, or until the crust is golden brown and fully cooked.
👉Top tips
- Pie Bird Watching: Being a talented vegan wedding cake maker, my wife is somewhat of a pastry arts historian, having read everything we could ever find from the past 200 years or so of pastry and cake deco books. Anyway, she's sort of obsessed with "pie birds" which were mostly a thing about a hundred years ago. They are ceramic or metal structures (often shaped like birds) with a tiny opening at the top to let out steam. You can stick a pie bird in the center of a top-crusted pie to prevent bubbling. I have tried them a dozen times and I am not convinced they work that well for their intended purpose. But that being said, they are sorta a neat antique method of pie baking, and I can't stop you from finding a charming one on eBay and shoving it into the middle of your pie, can I now?
- The Iceman Cometh: Ensure all your ingredients, especially the vegan butter and aquafaba, are cold. I like to cube my vegan butter and then toss it on a plate into my freezer for 5-10 minutes before incorporating it. This prevents the fat from melting too soon, which is crucial for achieving that dreamy, flaky texture in your crust. Consider popping your mixing bowl and utensils in the fridge before starting.
- Gentle Hands: Work quickly and with a light touch when incorporating the vegan butter into the flour. Overworking the dough warms the butter and develops gluten, leading to a tough crust instead of a tender, flaky one.
- Rest and Relax: After mixing, giving your dough enough time to chill in the fridge is non-negotiable. This step relaxes the gluten strands, making the dough easier to roll without shrinking and ensures the fat solidifies again, which is crucial for flakiness.
- Don't Tear for me, Argentina: Work smarter, not harder. Fold the dough in half, and then half again, and then unfold it into your pan, or wrap it around a floured rolling pin to transfer it into the pan.
🤷♀️ Recipe FAQs
Want a freshly baked crust in a few days from now, or in a couple of months? Just form the dough, wrap it, and refrigerate it for up to 3 days. For longer storage, freeze it for up to 2 months. Thaw overnight in the fridge before using the frozen dough. Then when you are ready to make the pie, simply roll it out and bake it as you normally would.
If you don't have vegan butter, cold, solid coconut oil is a great substitute. Just keep in mind it may impart a slight coconut flavor to your crust unless you use refined coconut oil.
Yes, since this isn't a sweetened dough, this crust is versatile and works perfectly for both sweet and savory pies. Make a vegan pot pie using my vegan chicken recipe, or spinach with bits of vegan Italian sausage and vegan ricotta cheese in it why dont'cha?
Shrinkage can happen if the dough hasn't rested enough or is overworked. Ensure to chill the dough thoroughly and handle it as little as possible when rolling and shaping. If it shrinks before adding filling, simply let it rest again for a few minutes in the fridge before stretching it a bit further by hand.
This recipe works great gluten-free. Just use a good quality all-purpose gluten-free flour blend in place of BOTH the regular flour and cake flour called for in the recipe. Look for one that includes xanthan gum, which helps replicate the structure provided by gluten.
The only tricky part is transferring it to the pan. Use my dough folding trick, or use a large, thin baking sheet with no lip to transfer it. If it cracks when transferring, use a tiny bit of water to press the cracked pieces together by hand before filling.
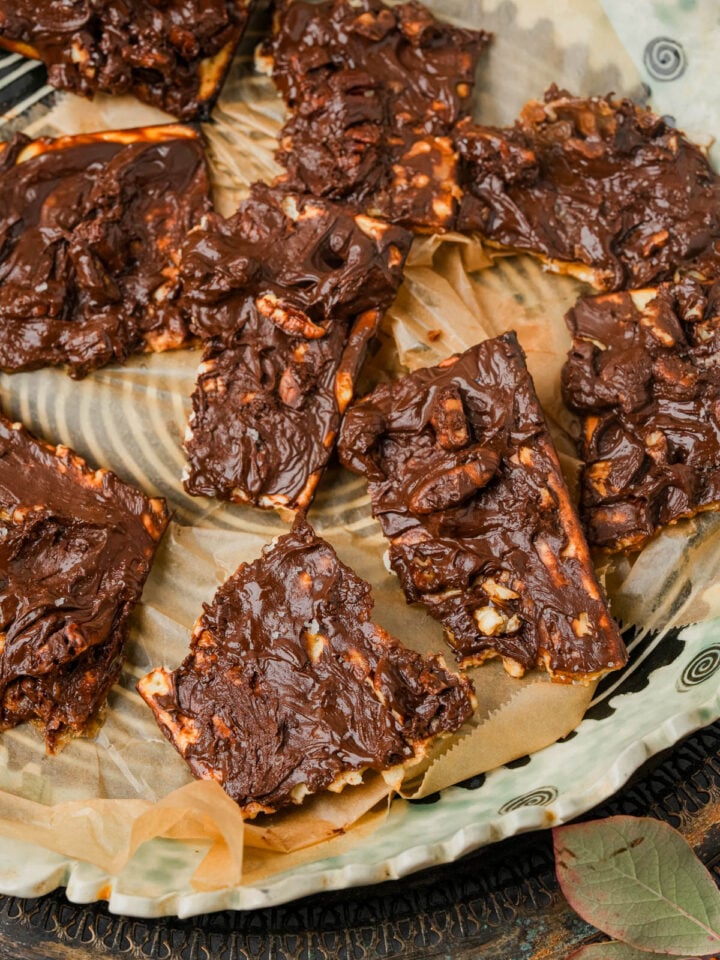
✌️My other fave autumnal desserts:


For just $1: Take a fun vegan dessert cooking class with Cinnamon Snail's Chef Adam Sobel and Chef Amanda Bankert from Boneshaker, Paris.


Easy Vegan Pastry Pie Crust
Ingredients
- 2 cups all-purpose flour
- ⅔ cup cake flour
- ½ teaspoon salt
- ¾ cup vegan butter cold, cut into small cubes
- 1 teaspoon apple cider vinegar
- 2 tablespoons tapioca starch
- ⅓ cup aquafaba chilled
Instructions
- Start by whisking together the all-purpose flour, cake flour, and salt in a large mixing bowl to ensure the dry ingredients are evenly combined.
- Add the cold, cubed vegan butter to the flour mixture. Using a pastry cutter or your fingertips, work the butter into the flour until the mixture resembles coarse crumbs with some pea-sized pieces of butter remaining. This rough texture is key for a flaky crust.
- In a blender, mix the apple cider vinegar, tapioca starch, and chilled aquafaba together for 90 seconds on high speed until the starch is completely dissolved and the mixture is bubbly.
- Pour the wet ingredients into the flour and butter mixture. Using a fork, gently mix until the dough starts to come together. Be careful not to overmix; stop when the dough is just combined. There should still be some tiny bits of butter.
- Divide the dough in half and press each half to flatten it into a disk. If the dough seems too sticky, lightly flour your hands or add a bit more flour to the dough. If it's too dry and crumbly, add a bit more aquafaba.
- Place the dough in a sealed container. Chill in the refrigerator for 10 minutes. This resting period allows the gluten in the flour to relax, and the fat to harden, making the dough easier to roll out while still providing a rustic, flaky crust.
Baking Instructions:
- Preheat the oven to 400°F (205°C).
- After chilling, remove the dough from the refrigerator and let it sit at room temperature for a few minutes to soften slightly. This makes it easier to roll out without cracking.
- On a lightly floured surface, roll out the dough into a circle about 12 inches in diameter and about ⅛ inch thick (about 30 cm. by 3 mm. thick). Carefully transfer the rolled-out dough to a 9-inch pie dish. Gently press the dough into the dish, making sure it fits snugly against the sides and bottom. Trim any excess dough from the edges, leaving about a half-inch overhang. Tuck the overhang under and crimp the edges as desired.
- Prick the bottom of the dough all over with a fork. This prevents the dough from puffing up in the oven. Chill the shaped crust in the refrigerator for 10 minutes before baking.
- Place a piece of parchment paper or aluminum foil over the chilled crust and fill with pie weights, dried beans, or uncooked rice to keep the crust flat during baking.
- Bake the crust in the preheated oven for about 18-20 minutes. Then, carefully remove the weights and the parchment paper. If the edges of the pie crust have slid down a little, that's ok! You will be able to hide that when you add the filling and top crust.
- Fill the pie, making a mound in the center. Roll out the second disk of dough and either place it directly on top of the pie, or cut it into strips to weave a lattice top.
- Crimp the edges together either by pinching with very slight moist hands, or by using the tines of a fork to seal the top crust to the sides of the bottom crust. If you made the top crust solid, either make a few neat slits in the top with a sharp knife, or use a "pie bird" in the center.
- Return the pie to the oven and bake for an additional 18-24 minutes, or until the crust is golden brown and fully cooked.
Notes
Enter your email & I'll send it to your inbox. Plus, get great new recipes from me every week!
By submitting this form, you consent to receive emails from Cinnamon Snail.
Noelle says
Hi Adam, what is the vegan butter that you typically use? Earth balance bars or Miyokos?
Adam Sobel says
I am an Earth Balance sticks guy through and through. But this works with Miyokos too.
Noelle says
Thank you so much, going to give this recipe a try very soon